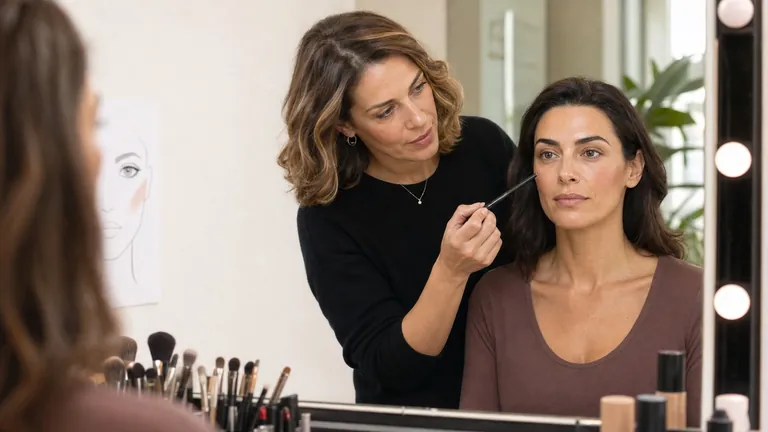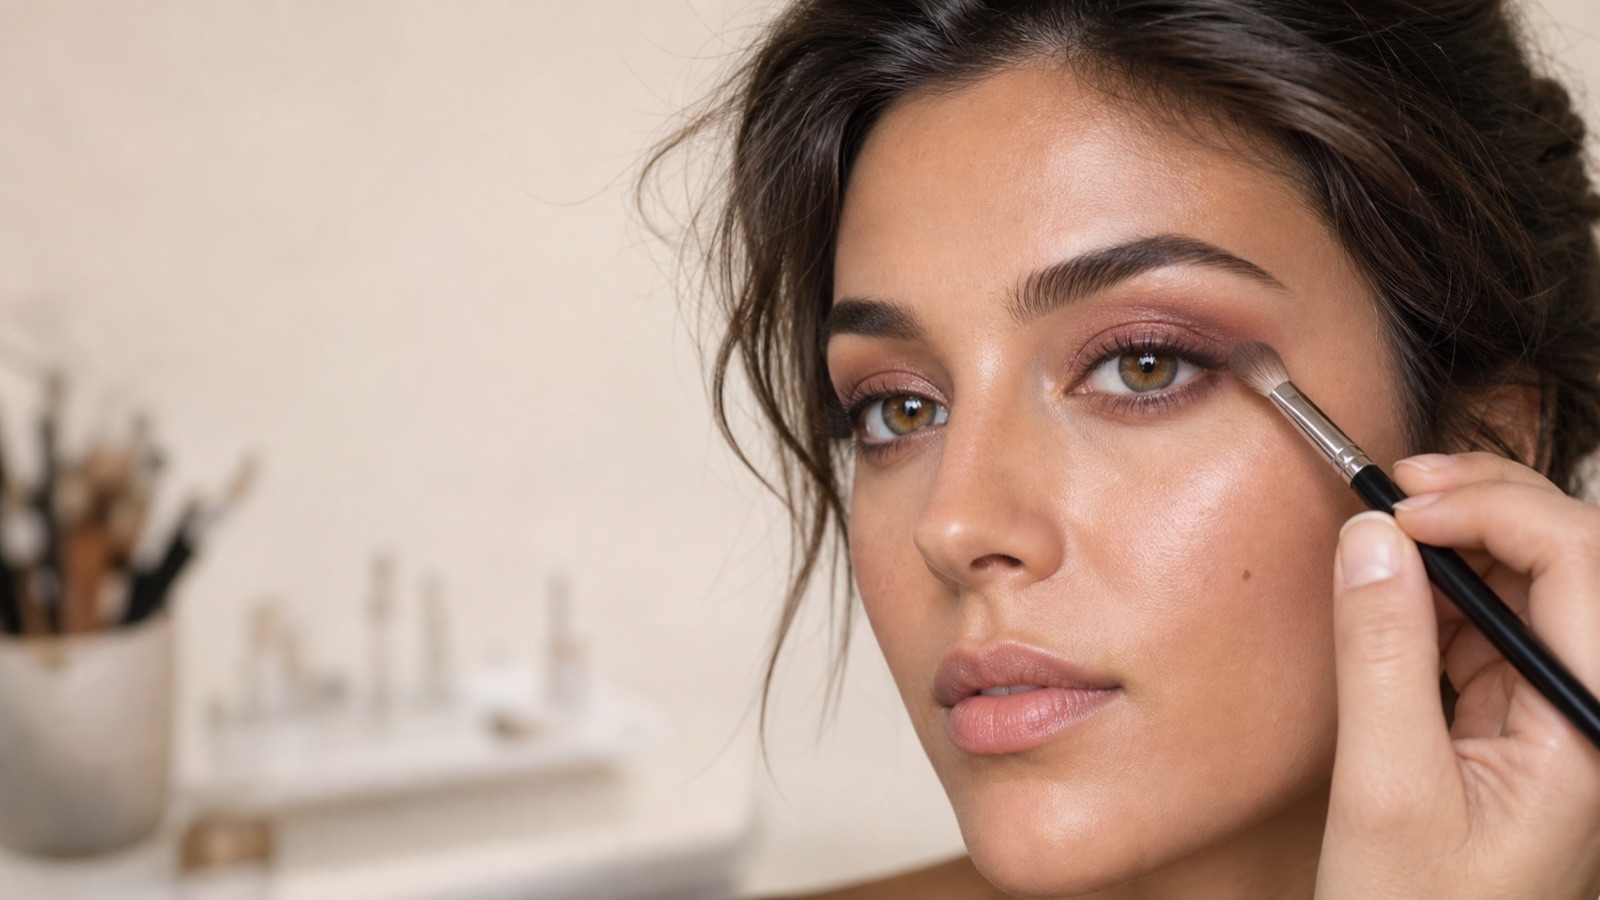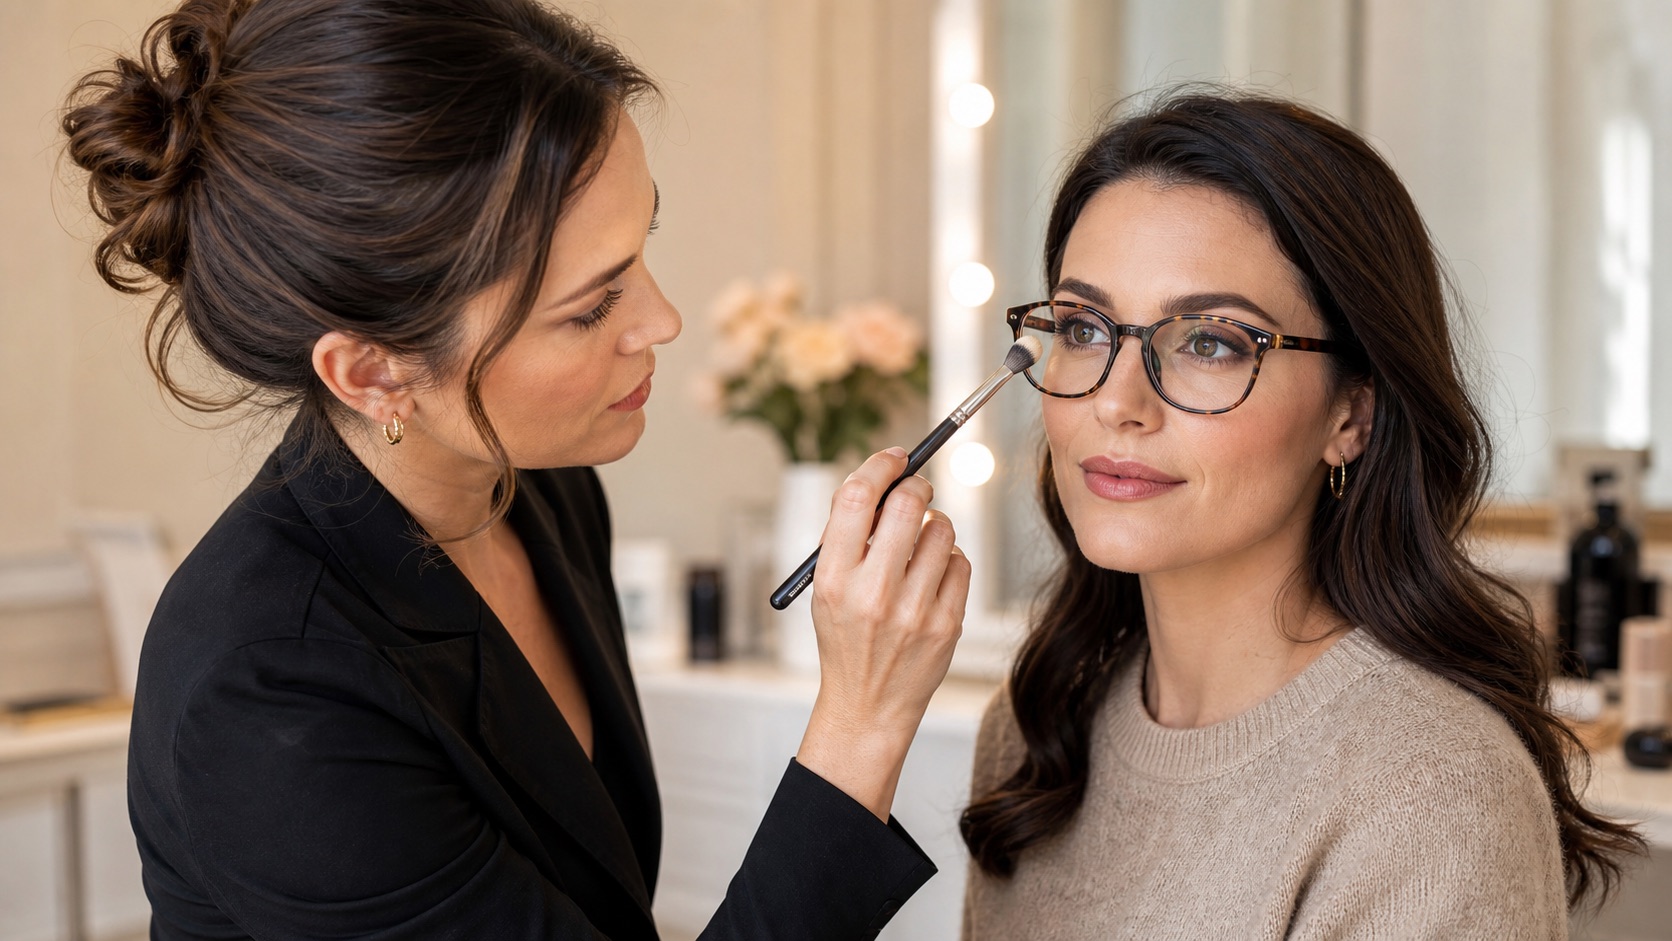
Makeup for glasses is not simply stronger eye makeup. The finished result is created by the interaction of prescription lenses, frame lines, brows, lashes, complexion and light. A lens may alter the apparent size of the eyes, the upper rim may hide a transition or wing, and the bridge and nose pads may disturb foundation. A professional design therefore begins with the actual glasses that will be worn, not a universal formula for short- or long-sightedness.
Short answer: minus lenses, commonly used for myopia, can make the eyes appear smaller; plus lenses, commonly used for hyperopia, can make them appear larger. How visible that change is depends on lens power, design, size, position and distance from the eye. Check the makeup through clean glasses at conversational distance and in the intended light. A makeup artist adapts cosmetic colour and shape but does not interpret or alter an optical prescription.
This guide is written by Irene Tomasi, a makeup artist with 10 years of professional experience. It owns the interaction between makeup and spectacles. The corrective eye makeup guide owns anatomical eye-shape intent, and the eyeliner guide owns line construction. Here the design question is what the lenses and frame enlarge, reduce, cover, reflect or touch. Prescription, lens centration and optical suitability belong to an appropriate eye-care professional.
The real lenses matter more than the diagnostic label
Observe the effect; do not guess the prescription
Minus and plus lenses can change the apparent size of the eye
Eye appears smaller
Preserve space and readable contrast
Eye appears larger
Refine symmetry and edges
Little visible change
Follow anatomy and the chosen look
Myopia is commonly corrected with concave, or minus, spectacle lenses; hyperopia with convex, or plus, lenses. Viewed cosmetically, minus lenses may reduce the apparent size of the eye and the surrounding area seen through the lens, while plus lenses may magnify them. This optical tendency is not a visual diagnosis and does not prescribe a makeup style. Two people with the same refractive condition may wear very different powers, aspheric or progressive designs, lens sizes and vertex distances.
Astigmatism, presbyopia and combined prescriptions can also change the view, especially away from the optical centre. A makeup artist does not need clinical values to design the look. Observe the pair the client will actually wear and record three practical facts: whether the eye appears to change size through the lens, where the frame crosses the lid and brow, and where the bridge, pads and temples touch makeup.
What you observe | Possible effect | Practical direction |
|---|---|---|
Eye looks smaller through the lens | Apparent minification, often associated with minus lenses | Keep mobile-lid space readable and distribute contrast without surrounding everything in black |
Eye looks larger through the lens | Apparent magnification, often associated with plus lenses | Refine symmetry, edges, fallout removal and lash separation because details may be more visible |
Upper rim crosses the crease or wing | Part of the design disappears or appears interrupted | Design at open eye through the glasses, not only with the frame removed |
Strong reflections in photographs | Eyes and colour lose visibility | Change light and pose before adding more pigment |
Myopia: preserve space instead of drawing a larger eye
If the eyes look smaller through the glasses, the aim is not to paint an artificial larger eye. Preserve hierarchy and readable space. Even the lid with a thin layer, keep one controlled area of light and build depth around the crease without carrying a dark block up to the brow. A well-blended mid-tone can remain clearer through the lens than a wide field of black.
Eyeliner may be defined without being thick. Place a reference with the eye open and glasses on. If the upper rim hides the line, improve continuity and placement before increasing intensity. A light-toned pencil on the lower waterline can create brightness for some looks, but it is optional and must be labelled for that use. Do not use a formula the wearer finds irritating.
Distribute lower-lash contrast according to the real eye and desired look. A hard black enclosure can use up the visible space, whereas a soft outer shadow may define without closing it. The detailed method for eyeshadow pressure, placement and transitions helps control shape without turning a tendency into a rule.
Hyperopia: precision, symmetry and clean separation
If the lenses visibly magnify the eye area, an uneven liner, clumped mascara, fallout and unfinished edges may also become easier to see. Work in small quantities: place colour, compare both eyes through the glasses, clean fallout and refine the transition. This does not mean the look must be neutral. It means that deliberate intensity is built with control.
Judge the wing against both the temple and the outer corner of the frame. A wing ending exactly beneath a thick rim may look cut off; one extending far outside the lens can become the dominant feature. Mark it at open eye, complete it with the frame removed and recheck. Lens magnification is not a reason to change the client's preferred style without discussion.
Metallic and very reflective finishes can interact with front light, lens glare and visible texture. Test them in the intended environment. Do not automatically remove shine or colour: decide whether it supports the look or competes with the frame and reflections.
The frame is the practical perimeter of the design
Four frame zones to check
The frame covers, borders and touches the face
Upper rim
Brow, crease and eyeliner
Bridge
Centre of the complexion
Nose pads
Pressure and transfer
Temples
Foundation, hair and friction
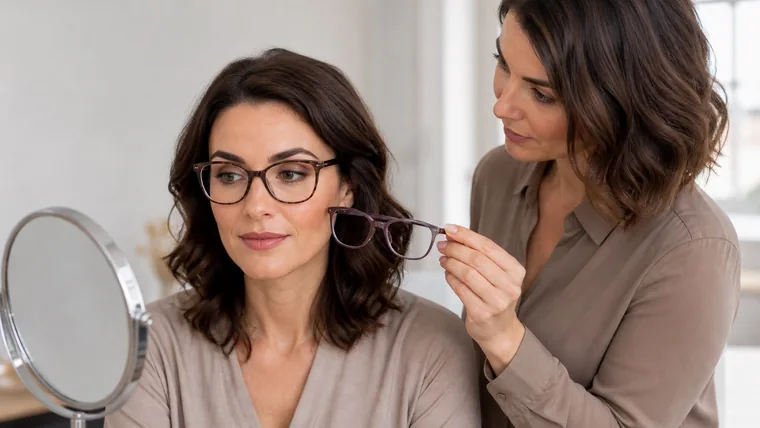
A frame is not merely a colour to match. It creates lines, visual weight, shadows and contact points. A thick dark frame increases central facial contrast; a rimless style exposes more blending; a coloured frame may harmonise with or contrast against eyeshadow, lips and clothing. Decide whether the spectacles are the protagonist, a border or a quiet part of the look.
Upper rim: check whether it overlaps the brow, crease or liner and hides a meaningful part of the design.
Bridge and nose pads: identify areas where complexion product may move, shine or collect.
Temples: check contact with foundation and hair, particularly with a high-coverage base.
Colour and thickness: estimate how much contrast the frame already contributes before intensifying brows and eyes.
Lens and coating: observe glare and colour rendition without making claims about optical performance.
Ask the client to bring every pair planned for the occasion: the main frame, prescription sunglasses and any evening or photography alternative. The same wing or brow can read differently when the frame changes. A professional trial documents each relevant combination with consistent photographs and short notes.
Brows and the upper rim should work together
A brow may sit above the frame, partly overlap it or disappear behind a high rim. Do not redraw it mechanically to follow the glasses. Preserve the person's anatomy, fill only what supports the agreed result and avoid two competing heavy lines. Look from the front and at three-quarter view: a brow that seems balanced without glasses may look overly graphic once the frame returns.
A thin or pale rim may allow the brow to carry more expression; a heavy dark frame may work with a more airy texture. These are options to test, not universal rules. Use the eyebrow mapping guide for proportion, colour and product choices that remain independent of eyewear.
Lashes need clearance from the lenses
Comfort before lash length
Lashes and complexion should not fight the glasses
Lashes
Curl, separation and clearance
Nose pads
Thin, settled complexion film
Stop
Pain, irritation, discharge or vision change
Long natural lashes, mascara build-up or a false-lash fringe can touch the lens, leave residue and feel distracting at every blink. Before application, check the available depth with the glasses in their usual position. A controlled curl may lift the fringe without adding length. Apply mascara through the roots, separate the tips and allow it to dry before replacing the frame.
Choose false lashes for clearance, comfort and wearer habit. Trim and test the band, inspect the side profile and use only adhesive intended for the eye area. If the tips touch the lenses, select a shorter or differently curved style or omit them. Do not bend or reposition a corrective frame as a makeup solution. Follow the full guide to choosing, trimming, applying and removing false eyelashes.
Complexion at the bridge and nose pads
Spectacle marks result from pressure, movement, warmth, sebum, pad shape and the amount and flexibility of cosmetic film. No primer can guarantee zero transfer. Prepare in thin layers, allow skincare to settle, apply less foundation exactly where the frame rests and set only as needed. A thick layer compressed by a nose pad generally moves more visibly than a thin integrated film.
Clean the glasses by the manufacturer's method and let bridge and pads dry fully.
Apply already tolerated skincare and sunscreen and allow each layer to settle.
Use minimal base at contact points rather than building coverage beneath the supports.
Press on a small amount of setting product and remove excess before putting the glasses on.
After several minutes, lift the frame, inspect transfer and correct only what has moved.
For pilling, film compatibility and settling time, use the guide to primer and foundation compatibility. The long-wear makeup guide explains local setting and touch-ups without promising absolute immobility.
A workflow designed around glasses
Design and verify through the frame
The glasses check is not reserved for the end
Observe with and without glasses
Set the visual hierarchy
Check throughout application
Wear test and photograph
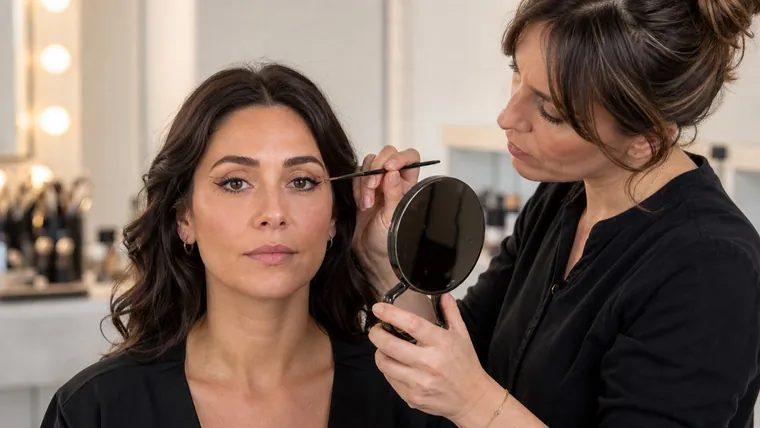
Consult: ask which glasses will be worn, for how long and in what light; record relevant eye-area sensitivities.
Observe: view the face with and without glasses from the front, three-quarter view and conversational distance.
Design: set a hierarchy among frame, brows, eyeliner, shadow and lips rather than intensifying all of them together.
Build the base: reduce product at contact points and let it settle before replacing the frame.
Build the eyes: create symmetry with the frame removed but check repeatedly at open eye through the glasses.
Check lashes: confirm that curl, mascara and any band clear the lenses comfortably.
Wear test: leave the glasses on for several minutes, then inspect contact marks, glare, comfort and visibility.
Document: photograph the look with the same frame, light and distance that represent real use.
Day, evening and photography checks
In daytime, inspect near a window without direct sun. A lens may attenuate or concentrate reflections and a frame may cast a shadow. Preserve definition without automatically thickening every line. The professional day makeup guide structures intensity and product choice for natural light.
For evening, increase contrast selectively: outer depth, lash line or lip, not necessarily all at once. Check whether colour remains visible behind the lens in the actual artificial light. The professional evening makeup guide develops structure and wear without making spectacles the sole criterion.
In photographs, glare can hide the eyes more completely than a low-contrast shadow. Move the light source or alter the face and camera angle slightly before changing the makeup. Keep posture natural and do not remove glasses when they are part of the person's identity. Use the photographic makeup guide for flash, high-definition finish and camera tests.
Eye hygiene and reasons to stop
The eye area requires clean hands, clean and fully dry tools, controlled decanting and suitable single-use applicators. Do not share products applied directly to the eye area, dilute dried mascara or use a product not intended for that area. Spectacle lenses do not make a contaminated cosmetic safer. Follow the complete makeup hygiene protocol for transfer, cleaning and workstation reset.
Do not apply eye makeup when there is significant redness, pain, discharge, marked eyelid inflammation, suspected infection or a reported change in vision. Stop if burning or irritation begins during the service, remove the product gently and direct the client to appropriate healthcare. Do not diagnose conjunctivitis, blepharitis or allergy. Active eye symptoms take priority over completing a look.
A client who also uses contact lenses should follow the instructions from their eye-care professional. Do not suggest switching to contact lenses to solve a cosmetic problem and do not handle their lenses during the service. Spectacles and contact lenses meet visual and health needs before aesthetic ones.
Common mistakes when applying makeup for glasses
Working without the actual frame and discovering at the end that the rim hides the liner or blending.
Automatically adding dark contrast for myopia until the visible eye area feels closed.
Automatically removing intensity for hyperopia instead of refining precision and intention.
Applying extra foundation under pads and bridge in the hope that more product will last longer.
Choosing lashes that touch the lenses or feel distracting at every blink.
Mistaking photographic lens glare for weak makeup and adding pigment before correcting the light.
Interpreting a prescription or recommending lens powers, materials or centration outside makeup scope.
Final professional checklist
Are these the glasses that will actually be worn, clean and sitting in their normal position?
Are eyes and brows readable through the lenses and rim from conversational distance?
Do liner, shadow and wing remain continuous at open eye?
Do lashes clear the lenses without discomfort or visible mascara transfer?
Is the base beneath bridge and pads thin, settled and rechecked after a short wear test?
Has the look been viewed in real light and, where relevant, in a camera test?
Is there no pain, irritation, discharge or reported vision change requiring the service to stop?
Turn observation and repeated checks into practical technique through the online makeup course catalogue, the beginner makeup course, the corrective makeup course or the complete makeup artist course. Training develops cosmetic control; it does not authorise interpretation of prescriptions or ocular conditions.
Frequently asked questions about makeup with glasses
Do glasses for myopia make the eyes look smaller?
Minus lenses commonly used for myopia can produce apparent minification. How noticeable it is depends on power, design, lens size and position. Assess the actual glasses rather than the label alone.
Do glasses for hyperopia make the eyes look larger?
Plus lenses commonly used for hyperopia can magnify the eye area. The effect varies between prescriptions, so concentrate on the result through the real lenses and refine symmetry and edges accordingly.
Should eye makeup for myopia always be light?
No. Light, mid-tone and dark colours can all work. Preserve readable space and transitions, and avoid adding black everywhere as a generic compensation.
Should strong makeup be avoided with hyperopia?
No. Intense makeup can work when liner, blending, lash separation and fallout are controlled. Apparent magnification makes testing and deliberate finish more important, not colour forbidden.
How should eyeliner work with a thick frame?
Observe where the upper rim crosses the eye and how much line remains visible. Set the wing at open eye, replace the glasses and choose thickness for balance rather than copying the frame.
Should brows follow the shape of the glasses?
No. Preserve brow anatomy and proportion, then adjust texture and intensity to coexist with the upper rim. Tracing the frame can create an artificial double line.
How can mascara marks on lenses be reduced?
Check clearance, curl where appropriate, remove excess from the tips, separate clumps and let mascara dry before replacing the glasses. Reduce length or product if contact continues.
Can false eyelashes be worn with glasses?
Yes, when band, curl and length clear the lenses comfortably. Test the style with the real frame and use only adhesives intended for the eye area.
How can foundation marks from nose pads be reduced?
They cannot be eliminated with certainty. Let skincare settle, use less product at contact points, set locally and check after several minutes instead of building a thick layer beneath the frame.
Must the eyeshadow match the frame colour?
No. Harmony, contrast and neutrality are all valid. Consider skin, eyes, lips, clothing and the intended visual role of the glasses rather than matching literally.
How can lens reflections be reduced in a makeup photograph?
Move or raise the light source and make a small change to face or camera angle while keeping the pose natural. Correct the reflection before judging makeup intensity.
Can makeup be completed without glasses and checked only at the end?
It can be applied with the frame removed, but it should be checked repeatedly with the glasses on. Otherwise rim, lenses and pads can alter a design created without its real perimeter.
When should eye makeup not be applied?
Do not apply it with pain, discharge, marked eyelid inflammation, suspected infection or a reported vision change. Stop if irritation develops and direct the client to appropriate healthcare.
Can a makeup artist recommend corrective lenses or optical frames?
A makeup artist may discuss the visible aesthetic interaction of a frame already chosen. Prescription, centration, lens material, fit and optical suitability belong to the relevant eye-care professional under local rules.
Optical and eye-safety sources
NCBI Bookshelf, StatPearls — Spectacle Correction of Ametropias: convex lenses for hyperopia, concave lenses for myopia, and the relevance of lens power, design and vertex distance.
U.S. Food and Drug Administration — Eye Cosmetic Safety: clean tools, products intended for the eye area, no use during infection and stopping after irritation.
NHS — Blepharitis: avoid eye makeup during active symptoms and seek care when indicated.
Moorfields Eye Hospital — Blepharitis: eye makeup and contact lenses should be avoided while symptoms are active.
Substantive review: 5 September 2026. This cosmetic educational guide by Irene Tomasi does not interpret prescriptions, diagnose eye conditions or replace an eye-care professional. Continue through the English makeup guide hub or develop practical technique through the online makeup courses while preserving professional scope.
Check mascara and lash clearance from lenses
Complete the frame test with the professional mascara guide.
Reduce transfer at hot-weather frame contact points
Use the heat-and-humidity makeup protocol.
Keep cut crease readable behind lenses
Adapt the eye structure through the professional cut crease guide.