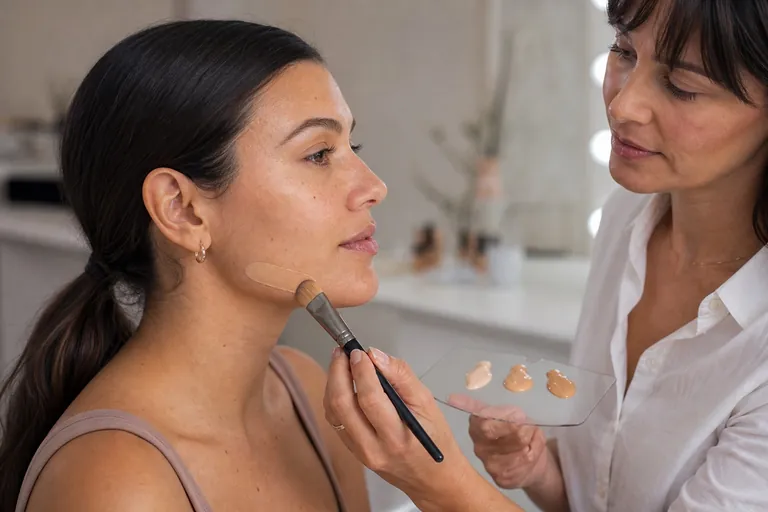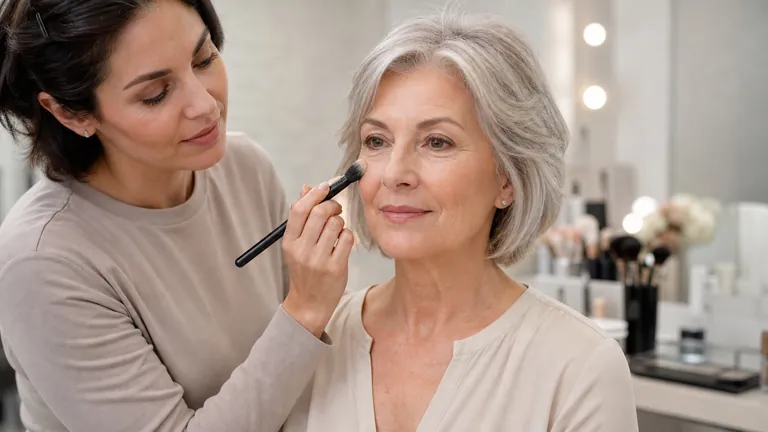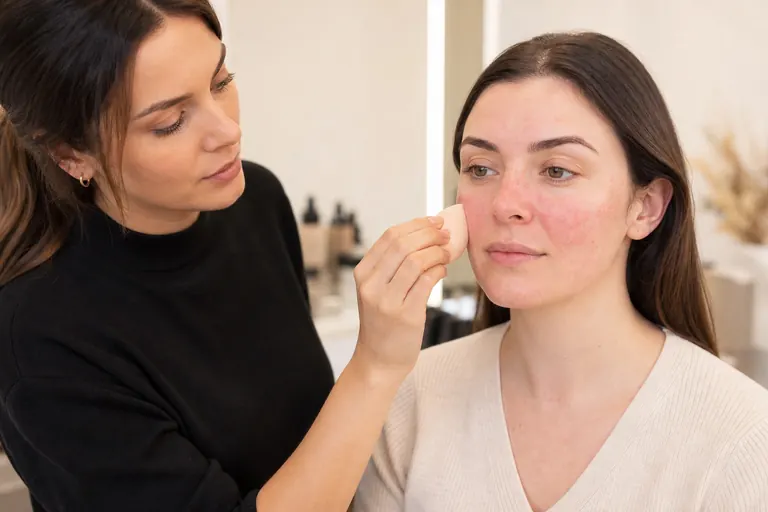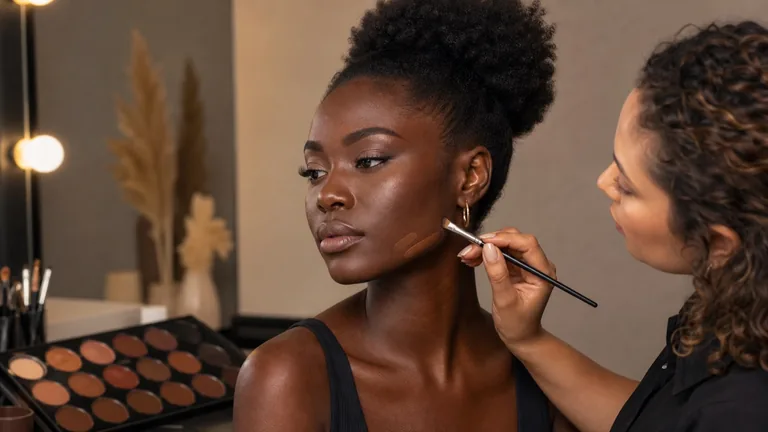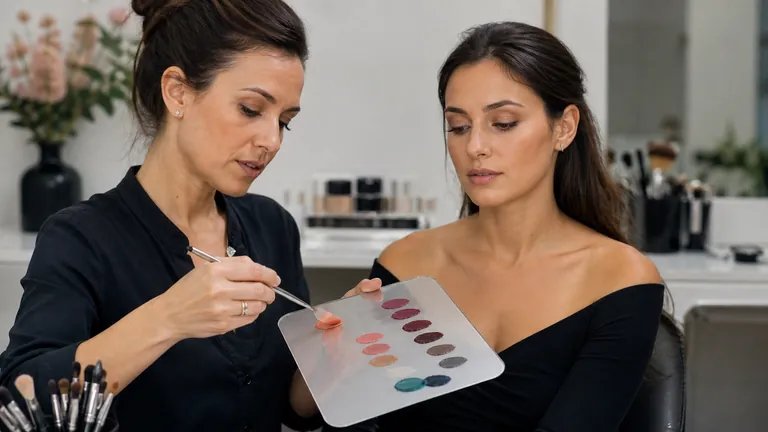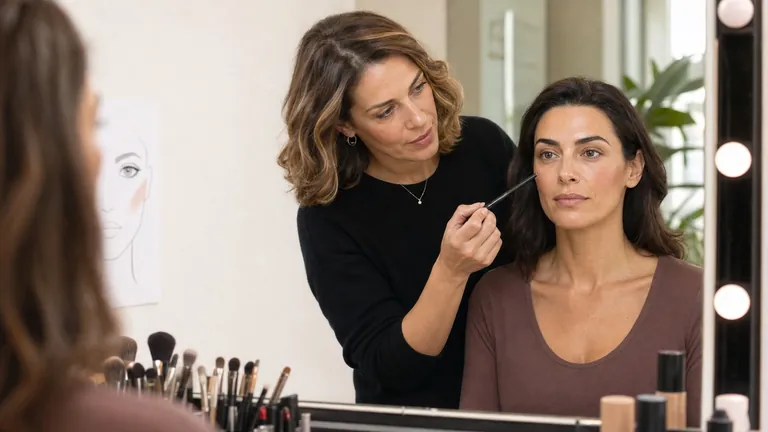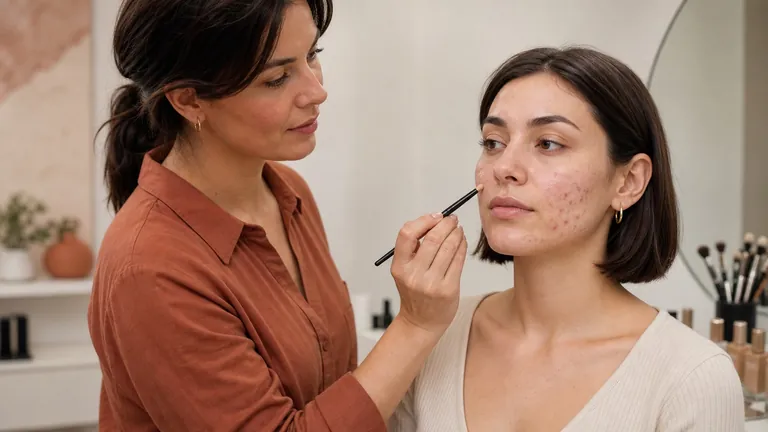
Acne-prone skin can be made up, but it should not be treated as a surface that must be hidden at any cost. A professional result begins with a cautious decision: observe whether the surface is intact, respect dermatological instructions, reduce friction and unnecessary layers, correct only where wanted and stop when cosmetic application is not appropriate.
Short answer: intact, comfortable skin without an active reaction can receive light modular coverage using compatible formulas, clean tools and gentle pressure. Do not apply makeup over cuts, abrasions, bleeding or weeping areas, unstable crusts, marked irritation or an unexpected reaction. Moderate or severe acne, painful nodules or cysts and emerging scars need medical assessment. A makeup artist does not diagnose or replace a dermatologist.
This educational guide is written by Irene Tomasi, a makeup artist with 10 years of professional experience. It is cosmetic, has not been medically reviewed and requires independent dermatological review before use as any clinical protocol. The acne-prone skincare guide owns routine and treatment-tolerance intent. The foundation texture guide owns general formula choice, while the cosmetic reaction guide owns rapid redness, burning and swelling. This page owns professional application decisions for acne-prone skin.
Acne-prone skin does not mean dirty skin
Acne is a common skin condition and is not proof of poor hygiene. Aggressive washing, scrubbing and rubbing do not remove the follicular process and may increase irritation and distress. The appointment must not become a health assessment. Observe only what matters to a safe cosmetic application, ask relevant questions and respect the person's right not to explain or display more than necessary.
Avoid shame-based words, unrequested commentary and close photographs without specific consent. Ask what the client wants: a more even tone, less visible redness, texture left natural or camera-ready coverage. Coverage is an aesthetic choice, not a duty. Visible acne can coexist with a sheer base.
First decision: apply, proceed cautiously or stop
Skin condition comes before coverage
Integrity, comfort and change determine the cosmetic decision
Apply
Intact, comfortable and stable
Caution
Reduce layers and friction
Stop
Broken skin or reaction
Observable situation | Cosmetic decision | Cautious action |
|---|---|---|
Intact skin, comfortable client, no current reaction | Application may proceed | Thin layers, little friction, clean tools and repeated comfort checks |
Dryness, scaling or reported sensitivity without broken skin | Proceed cautiously | Simplify preparation, reduce products and reassess comfort |
Cut, abrasion, bleeding, weeping, unstable crust or intense irritation | Do not apply | Stop and suggest appropriate healthcare guidance |
Burning, hives, swelling or rapidly increasing redness during application | Stop immediately | Remove gently, add nothing and follow appropriate medical assistance |
This matrix does not diagnose acne or grade severity. Painful nodules or cysts, widespread lesions, rapid worsening or scars forming make medical assessment the priority. Swelling of the face, lips or tongue, breathing difficulty or systemic symptoms require urgent assistance.
Consult before touching the face
Ask whether the skin is intact, comfortable and stable compared with recent days.
Ask whether treatment or dermatological instructions change dryness, sensitivity or sun exposure; do not interpret or alter medication.
Record already known allergies or reactions, the product involved and the agreed response to discomfort.
Agree the coverage level and explain that pores, raised lesions and depressions do not physically disappear under foundation.
Obtain separate consent before close photographs or portfolio use; consent to application is not consent to images.
A structured makeup client record collects only pertinent information and separates service consultation, image permission and privacy. Do not use it to diagnose or accumulate irrelevant health details.
Hygiene: prevent cross-contact and double dipping
Dispense once and work from the palette
A used tool never returns to the original product
Prepare the clean station
Dispense onto a palette
Apply without re-entry
Discard or clean correctly

Acne itself is not contagious, but shared cosmetics and applicators can carry microorganisms and residues between people. Clean hands according to protocol, prepare a clean station, dispense by pump or sanitised spatula onto a palette and never return a tool that touched skin to the original container. Mascara, lip and pot products require controlled decanting or suitable single-use applicators.
Brushes and sponges must be clean, fully dry and protected from recontamination. A quick mist is not a substitute for the validated cleaning process. If a disposable sponge contacts an area you do not want to revisit, do not move it across other zones. Follow the complete makeup hygiene guide for workstation states, transfer and reset.
Prepare with fewer layers and more observation
Do not begin with a scrub, extraction, brush or vigorous massage. Follow the client's already tolerated routine and dermatological instructions. If residue must be removed, use a gentle method and lukewarm water, then allow applied products to settle. Do not introduce several new actives before an event or promise that cosmetic preparation will reduce acne.
Acne-prone skin can be shiny and dehydrated at the same time. Do not infer preparation from the word oily. Assess comfort by zone. A familiar moisturiser may improve slip; too many layers may increase pilling and instability. The guide to skin preparation before makeup covers cosmetic order without replacing the clinical plan.
Choose texture without turning labels into guarantees
Formula, amount and zone work together
Non-comedogenic is useful orientation, not a universal promise
Base
Thin flexible film
Concealer
Only on selected colour
Powder
Only on unstable zones
Oil-free, non-comedogenic and won't clog pores can help narrow a product search, but they do not guarantee universal tolerance or zero new lesions. The complete formula, amount, removal, treatment context and individual response matter. Check label, lot, period after opening, warnings and pack integrity with the guide to reading a makeup product label.
Need | Technical direction | Common risk |
|---|---|---|
Even tone without bulk | Thin flexible base layer | Re-covering the whole face for each small colour change |
Local redness | Precisely dosed local correction | Strong green across unaffected skin |
Visible shine | Local setting and pressing touch-up | Heavy powder over dry or raised areas |
Comfort | Few compatible, flexible layers | Untested primer, base and spray stack |
A very matte foundation is not automatically better. It may catch on scales, accumulate around raised areas and need more manipulation. A luminous finish is not automatically greasy. Observe the actual film and use the primer and foundation compatibility guide to troubleshoot layers without simplistic ingredient rules.
Build coverage in controlled local steps
Even, observe, correct and set
Thickness remains only where the agreed colour difference needs it
Apply one thin veil
Observe in useful light
Correct colour locally
Set only where required
Observe in diffused light and agree the coverage level; do not decide for the client.
Dispense a small amount onto a clean palette and press a thin veil without dragging skin.
Let the film settle, then assess tone and texture from conversational distance.
Neutralise only residual redness the client wants reduced, using minimal chromatic corrector.
Press a skin-coloured concealer over selected zones and soften edges without loading the raised centre.
Set only unstable areas with a small amount of powder and no repeated polishing.
Check comfort, colour and stability in useful light; stop if burning or rapid redness appears.
Colour can reduce the visual impact of discolouration, but no cosmetic removes the volume of a papule or the depression of a scar. Trying to erase texture with material often makes it more visible. The corrective makeup course develops local neutralisation and controlled coverage inside a complete learning sequence.
Redness, post-acne marks and scars are not interchangeable
Recent redness may need a different correction from a brown mark or a texture change. Do not call every mark a scar or diagnose pigmentation. Verify hue and depth in appropriate light, test minimal amounts and maintain continuity with neck and exposed skin. On deeper complexions a concealer that is too pale or grey can exaggerate the mark.
The guide to makeup for deep skin tones covers undertone, chromatic correction and pigment visibility. The same rule applies: correct only the intended area and retain natural depth.
Medication and procedures: never improvise
Some acne treatments can leave skin dry, irritated or more sensitive to sunlight. A makeup artist must not advise stopping, delaying or changing medication. Ask the client to follow the clinician's plan and any instructions on makeup. After a procedure, peel or treatment that leaves the surface compromised, apply products only when the responsible healthcare professional allows it.
An informal home patch test does not diagnose allergy or guarantee future tolerance. Where there is a reaction history, medical assessment belongs to a qualified professional. A makeup artist can document product name, lot, area, timing and reported symptoms without assigning a cause.
When not to apply makeup
Broken skin: cuts, abrasions, bleeding, weeping or crusts that may detach.
Marked burning, pain, swelling or unexplained irritation already present.
Unexpected itching, hives, rapid redness, burning or oedema during the service.
Possible infection, discharge, unusual heat or rapid worsening: do not diagnose; refer for assessment.
Explicit clinical instruction not to apply cosmetics or an active recovery period after a procedure.
Inability to provide clean tools, controlled transfer, single-use items and workstation hygiene.
Postponing is not a judgement about the client. Explain neutrally that you will not apply cosmetic product to compromised or reactive skin and do not want to increase discomfort or interfere with assessment. Do not offer remedies or photograph the area without consent.
Set, touch up and remove without friction
Set by zone rather than covering the face in powder. If shine develops, blot with clean material and then add a minimal amount only where needed. Do not rub or repeatedly layer spray. Wear comes from the whole sequence, not a rigid surface.
At the end of the day, use a gentle removal method already tolerated and cleanse without scrubbing. Do not sleep in makeup, squeeze lesions or pick during removal. If a dermatologist has prescribed an evening treatment, follow its order and method as directed, not according to a makeup artist's advice.
Common mistakes on acne-prone skin
Using the amount needed for the most pigmented spot over the entire face.
Spreading saturated green corrector beyond residual redness and creating a grey base.
Choosing an extremely matte base solely because the label mentions acne or oil.
Rubbing to flatten a raised lesion that cosmetics cannot physically remove.
Sharing applicators, double dipping or using damp, incompletely cleaned brushes.
Introducing several new products at once and losing the ability to identify discomfort or pilling.
Promising a cosmetic is curative, hypoallergenic for everyone or unable to clog pores.
Professional checklist before application
Is the skin intact and does the client report enough comfort to proceed?
Have only relevant facts about reactions, treatment and clinical instructions been collected?
Are label, lot, PAO, packaging and tools checked, with no double dipping?
Are coverage level, visible texture and image use agreed separately?
Is the stop threshold clear, without diagnosis or treatment advice?
Frequently asked questions about makeup for acne-prone skin
Can foundation be applied over acne?
Yes, when skin is intact, comfortable and not reacting. Use compatible formulas, clean tools, minimal friction and modular coverage. Do not apply over broken or markedly irritated skin.
Does makeup always make acne worse?
No. Some products can contribute to breakouts or irritation in some people, while others are tolerated. Formula, amount, hygiene and removal matter. Stop a suspected product and seek dermatological guidance for persistent change.
What does non-comedogenic mean?
It indicates that a product is formulated or tested to reduce the likelihood of clogging pores under the manufacturer's criteria. It is useful orientation, not a universal tolerance guarantee.
Is matte or luminous foundation better for acne-prone skin?
Neither finish is automatically best. Matte formulas may emphasise dry areas; flexible luminous formulas may need local setting. Judge the complete film by zone.
How can redness be covered without a heavy base?
Apply a thin even base, then use minimal local chromatic correction and skin-coloured concealer. Press the edges and avoid loading the raised centre.
Is green corrector always necessary?
No. Use it only for residual redness that needs neutralising and in a very small amount. Excess may create a grey result and require more coverage.
Can makeup cover an open spot?
No. Do not apply cosmetic product to an open, bleeding or weeping lesion. Avoid manipulation and wait for intact skin and appropriate guidance.
Can makeup be applied over a crust?
Do not cover an unstable crust or one associated with discharge, pain or irritation. If the area is healed and intact, proceed only according to comfort and clinical instructions without rubbing.
How can a mask-like finish be avoided?
Use one thin veil overall, increase coverage only on selected discolouration, let each layer settle and powder only unstable zones.
Is a sponge gentler than a brush?
Not automatically. Either can be gentle or abrasive depending on pressure, cleanliness and movement. The sponge needs hygienic control and the brush must not scratch or drag.
Can makeup be worn during acne treatment?
Follow the prescriber's advice. Some treatments change dryness, sensitivity or sun response. A makeup artist must not alter treatment and should stop when skin is not intact or comfortable.
Does a home patch test rule out allergy?
No. An informal test neither diagnoses allergy nor guarantees future tolerance. Previous reactions need competent medical assessment, and unexpected reactions during service require stopping.
When should acne be assessed by a dermatologist?
Seek medical assessment for moderate or severe acne, painful nodules or cysts, scarring, rapid worsening, significant distress or uncertainty about lesions. A makeup artist cannot grade acne.
How should makeup be removed gently?
Use an already tolerated gentle remover and lukewarm water, with no scrubbing, squeezing or picking. Remove makeup before sleep and follow prescribed treatment as directed.
Medical sources and limits
American Academy of Dermatology — wearing makeup with acne: non-comedogenic labels, gentle application, clean brushes and nightly removal.
NHS — acne: moderate or severe acne, nodules, cysts and scarring risk need medical care.
ISSalute — using cosmetics safely: cosmetics do not cure and should not be applied to irritated or cut skin.
U.S. Food and Drug Administration — cosmetic product complaints: stop using a cosmetic after a reaction and contact a healthcare provider.
Substantive review: 5 September 2026. This cosmetic educational guide by Irene Tomasi is not a diagnosis, treatment plan or dermatological review. It must not delay healthcare. Continue with the English makeup guide hub or structured online makeup courses while preserving professional scope.
Remove coverage without scrubbing active lesions
Use the gentle makeup-removal protocol.
Avoid heavy sweat-trapping coverage
Apply the selective waterproof makeup method.
Protect without replacing acne care with makeup
Use the sunscreen-and-makeup sequence.
Distinguish acne coverage from rosacea comfort
Compare the brief with makeup for rosacea and sensitive skin.
Correct flat post-blemish colour without treating acne
Use the discolouration corrector guide.
Keep acne support separate from specialist camouflage
Use the camouflage guide for healed scars and known flat discolouration.