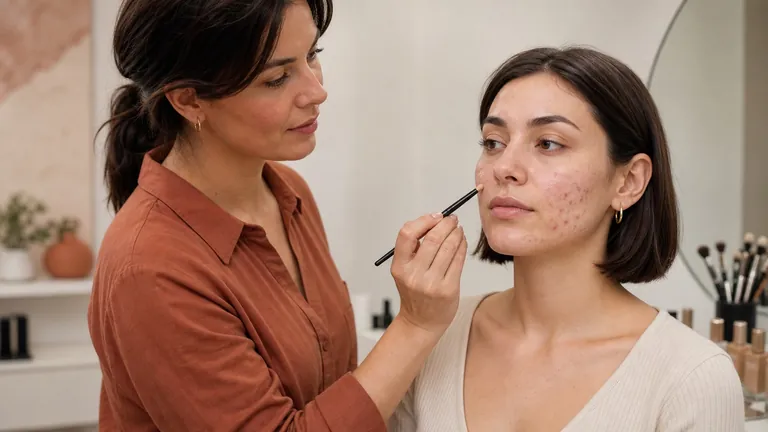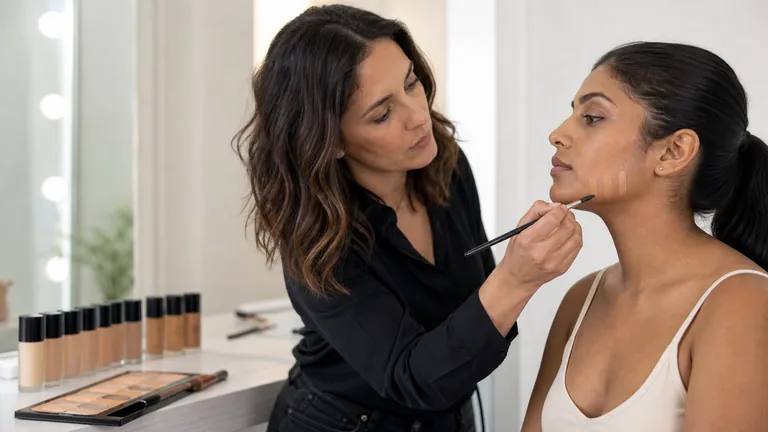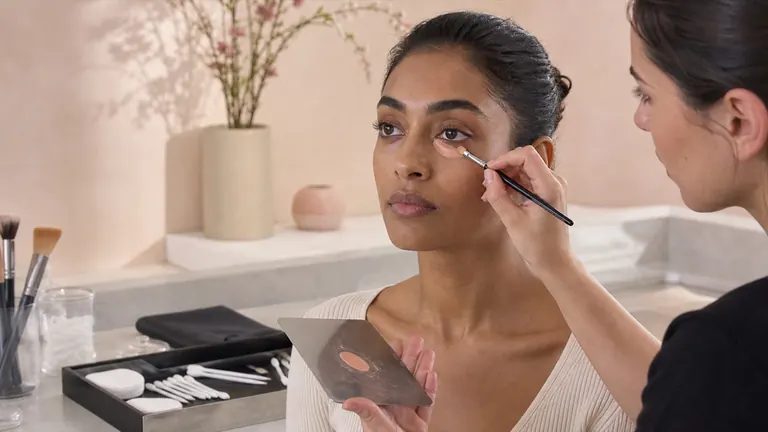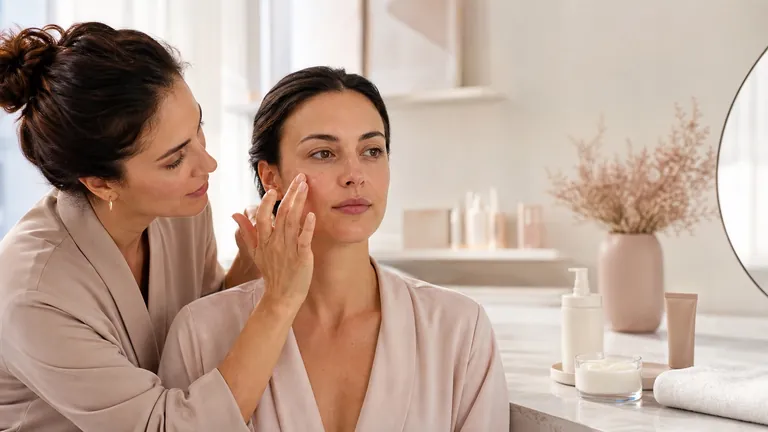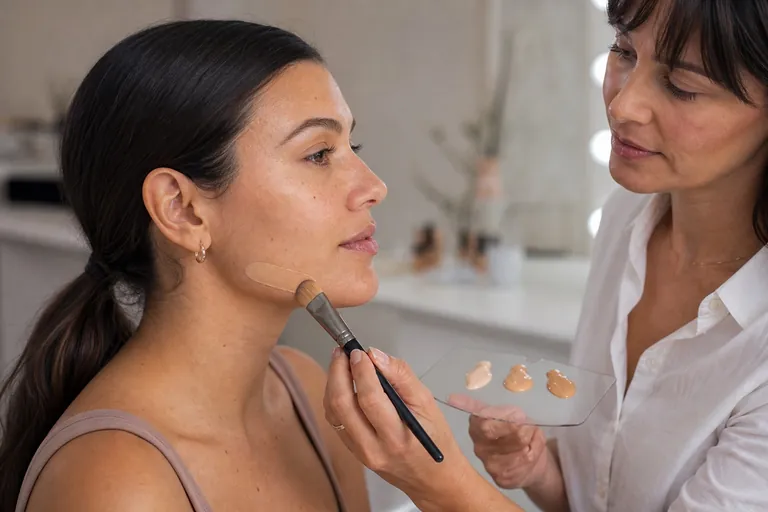
Choosing foundation does not end when the colour matches. Once depth and undertone are checked, you still need to decide how the formula should spread, how much natural variation should remain visible and how the finished surface should reflect light. Texture, coverage and finish are separate variables: a fluid may be full coverage, a stick can be applied in a sheer layer, and a matte label does not automatically make a formula the best option for every shiny area.
Quick answer: observe visible texture, shine, comfort and the areas that need evening; choose a consistency you can distribute as a uniform thin film, the minimum useful coverage and a finish suited to the light and wear requirement. Test preparation, amount, tool and setting together for several hours. Performance belongs to the whole system, not one word on the bottle.
This page owns foundation format, coverage, finish, thin-layer application and wear behaviour. Colour matching remains with the separate skin undertone and foundation guide; skin preparation and primer compatibility have their own intent. Build practical control through the English makeup courses and the professional makeup products course rather than treating product names as technique.
Texture, coverage and finish are three different decisions
Three variables, three separate tests
A product name cannot replace observation on skin
Texture
Consistency, spread and set
Coverage
Transparency and visual evening
Finish
Reflection after settling
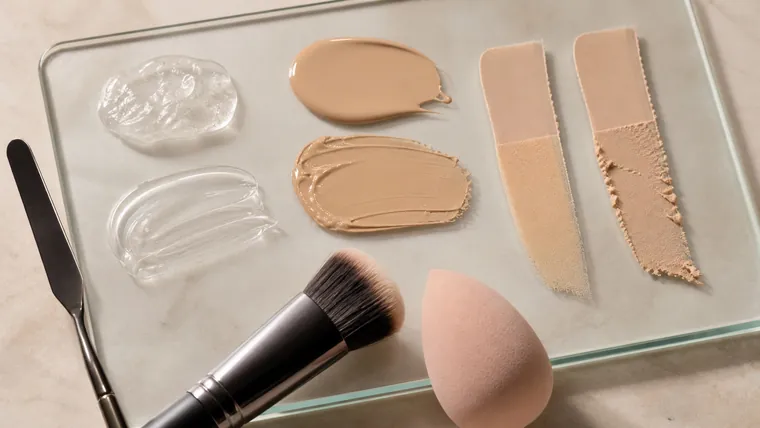
Texture describes the product’s physical form and feel while it is dispensed and worked: fluid, cream, compact cream, stick or powder. Coverage describes how much the deposited film reduces visible colour variation. Finish describes the settled surface’s light reflection: radiant, natural, satin, soft matte or matte. Confusing the three can lead to choosing a needlessly thick formula or over-powdering a base that already had the right result.
Variable | Useful question | How to assess it |
|---|---|---|
Texture | How does it spread and set? | A controlled thin layer over a broad area |
Coverage | How much does it visually even? | Before and after without added concealer |
Finish | How does it reflect light? | Front and side view after settling |
Liquid, cream, stick and powder foundation in practice
Format suggests; the formula decides
Consistency and coverage are not synonyms
Liquid
Sheer to full; variable dry-down
Cream
Local control and richer films
Stick
Precise dose and portability
Powder
Light passes and touch-ups
Format suggests behaviour but does not guarantee it. Two liquids may differ in viscosity, pigment load, volatile components, film formers, emollients and powders; one may remain sheer and flexible while another sets rapidly with high coverage. Read the manufacturer’s directions and test real amount, working time and compatibility instead of assigning a result to the category name.
Liquid or fluid: easy to dose and available from sheer to full coverage; fast-setting versions often need to be worked by zone.
Cream or cream compact: useful for local control and richer films, but amount and preparation decide whether it looks flexible or heavy.
Stick: portable and precise for targeted coverage; warm and distribute a small dose without dragging the skin or applying the shared stick directly to a client.
Loose mineral or pressed powder: builds with light passes and can support touch-ups, while excess readily catches raised or dehydrated surface texture.
Skin tint, serum tint and cushion: marketing categories that may imply speed or a thinner film but do not define composition, safety, coverage or wear by themselves.
Choose the minimum coverage that meets the brief
Sheer coverage evens while retaining freckles and natural variation; medium reduces more visible redness or discolouration; high coverage deposits more pigment or creates a more optically opaque film. “Buildable” means further thin layers can remain acceptable. It does not mean every formula can be stacked without separation, thickness or loss of movement.
A professional result often begins with a thin even base and adds targeted correction only where it is useful. Covering the whole face heavily to conceal a few areas increases thickness, transfer and the likelihood of visible movement around the nose, mouth and eyes. The corrective makeup guide explains how local colour and structure decisions differ from full-face coverage.
Radiant, natural, satin, soft-matte and matte finishes
Finish is not a diagnosis of skin type. Radiant formulas reflect more light and can look fresh, but may require control on areas that are already reflective or under flash. Natural and satin finishes retain moderate reflection; soft matte reduces it without seeking a flat surface; matte reduces visible shine more strongly. Skincare, powder, spray, lighting and time can all change the initial finish.
Do not automatically assign matte to oily skin or glow to dry skin. A shiny zone may also show dehydration or raised texture; a dry face may prefer natural rather than highly luminous reflection. Read the face by zone and decide where to keep dimension and where to control movement or shine.
Observe the surface without diagnosing skin conditions
Before application, observe visible flaking, raised texture, pores, shine, reported comfort and the behaviour of products already applied. These are operational observations, not dermatological diagnoses. Do not attribute persistent redness, acne, itching or a lesion to a cosmetic cause. If skin is broken, markedly inflamed or develops an unexpected reaction, stop and recommend appropriate healthcare assessment.
Observation | First test | Avoid |
|---|---|---|
Flaking or tightness | Minimal preparation and flexible thin film | Layering more cream and powder together |
Localised shine | Targeted control and zone setting | Flattening the whole face |
Visible texture or pores | Low pressure and little product | Friction and accumulated pigment |
Local colour variation | Even base plus targeted correction | Increasing coverage everywhere |
Dry or dehydrated-looking areas: flexibility before shine
On a surface that feels tight or shows small flakes, the practical priority is preventing the film from stopping at dry edges. Use compatible preparation, allow it to settle and remove excess before testing a foundation that stays workable in a thin layer. “Radiant” does not automatically mean hydrating, and adding oil to an untested formula may reduce adhesion or wear.
Apply a small amount from the centre outwards and set only where required. If the film still catches, change one variable at a time: preparation, amount, tool or formula. Adding more foundation over an area that has already lifted rarely rebuilds a uniform surface.
Combination or shiny areas: zone control and wear testing
Shine and poor wear are not synonyms. A base can adhere well and become reflective without separating; another may break around the nose and mouth. On the T-zone, test thin layers, allow settling and press in a controlled amount of powder only where useful. Keep cheeks and the outer face more flexible when they do not need the same treatment.
Some bases darken or shift as they dry or interact with the surface. Do not call every colour change oxidation. Compare the same amount immediately, after about 15 minutes and after several hours, while keeping preparation and light consistent. The colour guide establishes the initial match; this page evaluates what the formula does afterwards.
Mature skin, lines and pores: reduce friction and excess
Lines, folds and pores are normal skin features. Foundation does not remove them, but it can settle more or less evenly. Prefer a controlled thin layer applied without dragging. Do not fill movement lines with additional product, and inspect the face while it speaks and smiles rather than only in a still pose. Side light reveals accumulations that very soft frontal light can hide.
Brush, sponge, fingers or puff change the deposited film
The tool changes distribution, residual amount and pressure. Quantitative research has measured differences in spreadability, coverage and adhesion between application methods, but it does not establish one universal winner. Choose the method that repeats the desired film with the actual formula, and keep every tool within the professional makeup hygiene workflow.
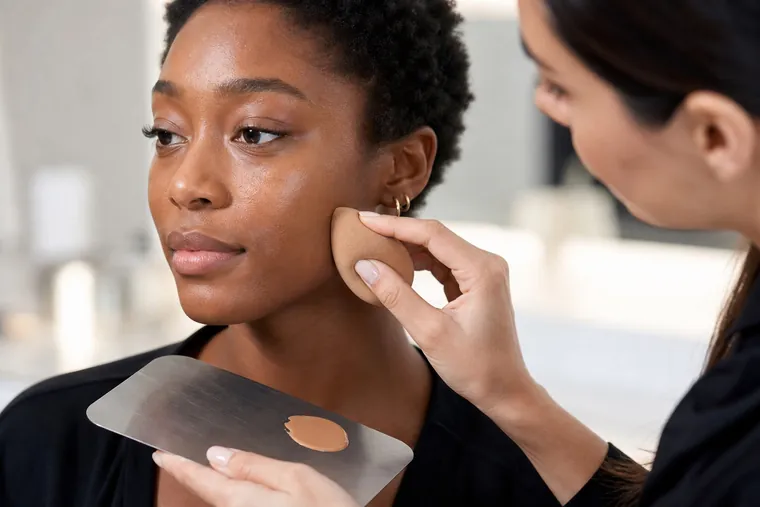
Flat foundation brush: deposits precisely; connect strokes before a fast-setting formula becomes difficult to move.
Dense rounded brush: distributes quickly; excessive pressure or buffing may disturb preparation underneath.
Lightly damp sponge: presses and joins the film; it should not drip or move between people without proper processing.
Fingers: warmth can help some personal-use textures, but hands must be clean and should not repeatedly enter shared packaging.
Powder puff or brush: a puff presses for local control, while a soft brush distributes a more diffuse veil.
Apply foundation in controlled thin layers
Build only where the brief requires it
A uniform film comes from small amounts and intermediate checks
Prepare and measure
Distribute a thin film
Correct locally
Set, move and inspect
Confirm colour and the agreed coverage objective before treating the whole face.
Prepare the surface and wait until it is no longer wet or excessively slippery.
Decant a small amount onto a clean palette instead of touching a client with the container applicator.
Distribute from the centre outward, reducing product at hairline and jaw.
Let the first layer settle before deciding where coverage should be added.
Correct locally instead of thickening the whole face.
Set by zone and remove powder excess with a clean tool.
Check from the front, side, in movement and in destination light.
Practice across formulas and adult faces matters more than owning a large product range. Use the learn makeup from scratch guide to separate exercises and record one change at a time.
Set without accidentally changing the chosen finish
Powder can absorb oil and reduce light reflection, but amount, particle character and application change the result. Press a minimal dose into mobile or shiny areas rather than dragging the fresh film. A spray may visually reconnect powders or support resistance according to its formula. “Setting” and “fixing” are not globally standard technical categories: follow the specific directions, warnings and compatibility of the products in the system.
A wear test reveals what the first five minutes cannot
Foundation may look ideal immediately and change with evaporation, movement, surface oil, heat and touch. Record formula, amount, preparation, tool and setting. Inspect at least the T-zone, cheeks, sides of the nose, mouth area and jaw after realistic wear. For bridal, photography or long events, also check ambient light, flash behaviour and transfer with a clean tissue where appropriate.
Do not compare two formulas while changing skincare and tool at the same time. A useful test changes one variable under similar conditions. The professional bridal makeup guide places base testing inside the wider trial and event timeline.
Troubleshoot separation, texture and heaviness systematically
Diagnose the film before adding more
Each visible failure points to a different variable
Heavy
Reduce base and powder
Separated
Check residue, oil and friction
Textured
Reduce pressure and thickness
Shifted
Repeat the controlled wear test
Visible issue | Check first | Controlled next test |
|---|---|---|
Heavy or cakey | Base amount and powder | Reduce layers; correct locally |
Separates on nose | Preparation residue, friction and oil | Remove, reduce and press |
Catches flakes | Surface and settling time | Prepare, wait and avoid rubbing |
Collects in pores or lines | Thickness and gesture direction | Remove excess; reapply a thin film |
Darkens or shifts | Dry-down, surface oil and initial match | Repeat a controlled multi-hour test |
Transfers strongly | Settling, amount and setting | Allow dry-down and set by zone |
A five-test foundation selection protocol
Colour: confirm depth and undertone continuity across face and neck.
Film: check that one thin layer distributes without gaps or ridges.
Coverage: add the same product to only half of the test area.
Finish: observe reflection after settling and minimal setting.
Wear: review movement, oil, transfer and colour after several hours.
Record the result rather than only the product name. The same formula may perform differently with preparation, amount, climate or application. Organise purchases without unnecessary duplication using the beginner makeup kit guide.
Cosmetic safety, labels and professional limits
Foundation is a cosmetic used to alter appearance, even colour and provide coverage; it is not a treatment for disease. Read labels, warnings and directions. Do not dilute it with water or another substance unless the manufacturer supports that use, and do not make properties the product does not claim. Keep applicators from direct repeated contact with clients and decant shared products hygienically.
If burning, itching, swelling or another unexpected reaction develops, stop using the product and recommend healthcare advice appropriate to severity. The FDA’s makeup information provides a regulatory overview for the United States; rules and reporting routes vary internationally. This guide supports cosmetic selection and application, not diagnosis or medical care.
Frequently asked questions about foundation texture, coverage and finish
Which foundation texture is best?
There is no universal best. The useful texture creates an even film with the preparation, tool, coverage and wear needed without visible accumulation or unacceptable discomfort.
What foundation works for dry skin?
Prioritise flexibility, workable thin layers and a controlled preparation test. “Radiant” alone does not guarantee comfort, hydration or an even settled surface.
What foundation works for oily or combination skin?
Assess adhesion and separation in shiny zones, not only the initial matte effect. Use little product, work by zone and review powder, movement and colour after several hours.
Does full coverage always emphasise texture?
It can when applied as a thick or inflexible layer. A pigmented formula used sparingly may look thinner than several accumulated layers of a sheer product.
What is the difference between radiant and satin?
Radiant usually reflects more light; satin keeps a more moderate, even reflection. These terms are not absolute standards, so compare the actual settled product.
How can I avoid cakey foundation?
Reduce residual preparation, foundation and powder. Let layers settle, correct only where useful and stop working a formula once it has begun to set.
Is a brush or sponge better?
It depends on the formula and desired film. Compare both with the same measured amount and choose the method that produces the most repeatable result hygienically.
Can every foundation be layered?
No. Some build well; others lift, pill or become thick when revisited. Let the first film settle and test an additional layer on one small area.
Is setting powder always necessary?
Not everywhere. Use it where movement, transfer or shine requires control and verify that the smallest useful amount does not destroy the selected finish.
Why does foundation separate around the nose?
Possible variables include skincare residue, friction, excessive amount, oil, incompatible layers and insufficient settling. Remove the affected area and change one factor in the next test.
Does matte foundation always last longer?
No. Matte mainly describes light reflection; it does not guarantee adhesion, flexibility or resistance. Verify wear under the actual conditions required.
Can texture and finish affect colour perception?
Yes, especially with high coverage or strong reflection, but colour remains a separate check. Confirm depth and undertone first, then evaluate formula, finish and dry-down.
Research and next steps
Explore research on foundation-film structure, quantitative comparison of spreadability, coverage and adhesion, instrumental assessment of finish and texture and the relationship between sebum and foundation darkening. Continue through the English makeup guide library or compare the current online makeup courses.
Before selecting foundation and concealer, check how to prep skin before makeup: this guide orders cleansing, moisturiser, daytime sunscreen, targeted primer and settling without overloading the surface.
To separate hue, value, saturation, contrast and controlled neutralisation, continue with the makeup colour theory guide. It treats colour as a testable design decision rather than an automatic pairing.
To combine complexion, brows, eyes, cheeks and lips into one efficient service, continue with the professional day-makeup guide. It connects product decisions to intensity, natural-light checks and realistic wear.
To adapt these product and placement decisions to moving lines and mature texture, continue with the makeup for mature skin guide. It uses zone-based preparation, thin layers and selective setting without age-based rules.
To choose head shape, density and fibre from the mark you need, continue with the professional makeup-brush guide. It connects product loading, first contact, pressure and angle to a repeatable result.
To test how skincare, sunscreen, primer and foundation behave as one film, continue with the primer and foundation compatibility guide. It replaces water-versus-silicone myths with measured layering and A/B wear tests.
Set foundation without making it heavy
Choose powder, setting spray, fixing spray and touch-ups through the long-wear makeup guide.
Test foundation in high definition
Turn formula selection into a real flash and camera protocol with the photographic makeup guide.
Test foundation texture on deep skin tones
After choosing texture and coverage, apply colour matching and correction through makeup for deep skin tones.
Identify the exact formula before testing finish
Texture and coverage should be tested on a traceable cosmetic; verify INCI, batch, PAO and the EU Responsible Person.
Photograph texture and finish without rewriting them
Use consistent distance, light and processing from the true-colour capture guide.
Build complexion range by function instead of duplication
Turn finish and coverage choices into a module with the professional makeup kit guide.
Adapt coverage to acne-prone skin
Apply the general foundation method within the acne-prone skin makeup protocol.
Integrate complexion product around facial hair
Add beard and hairline control from the men’s and groom makeup guide.
Select removal for the foundation film
Close the complexion workflow with the makeup-removal guide.
Build selective coverage for humid conditions
Apply the heat-and-sweat complexion protocol.
Place foundation without reducing sunscreen
Use the sunscreen-and-makeup guide.
Choose foundation around comfort and friction
Continue with foundation and correction for rosacea-prone skin.
Neutralise before adding more complexion coverage
Continue with the colour-corrector layering protocol.
Know when foundation is enough and when camouflage is different
Compare it with the specialist camouflage method.