Photographic makeup must work on a real person and through the translation created by light, lens, sensor, exposure and image processing. A camera can strengthen contrast, flatten some volume, reveal surface build-up or turn restrained reflection into a bright patch. The answer is not automatically more product: define the capture context, test it and change only what the test demonstrates.
Quick answer: build a thin complexion, review colour and texture under several relevant lights, avoid automatic powder overload, test the actual camera and flash before production and inspect the result at both final framing and useful detail. Flashback is not caused by one ingredient in every formula; product, amount, skin, light, distance and exposure act together.
This guide owns makeup performance in stills and moving images. The makeup artist portfolio guide covers selecting and presenting work; how to make makeup last owns setting, wear and touch-up decisions. Camera-ready technique collaborates with photographers, videographers and colourists; it does not replace their exposure, lighting or colour work.
Camera-ready makeup is context-specific, not automatically heavier
One face, four capture contexts
Coverage follows the brief, framing, light and movement
Close-up
Surface, boundaries and symmetry
Editorial
Concept, styling and light
Direct flash
Reflection and colour continuity
HD video
Movement and continuity
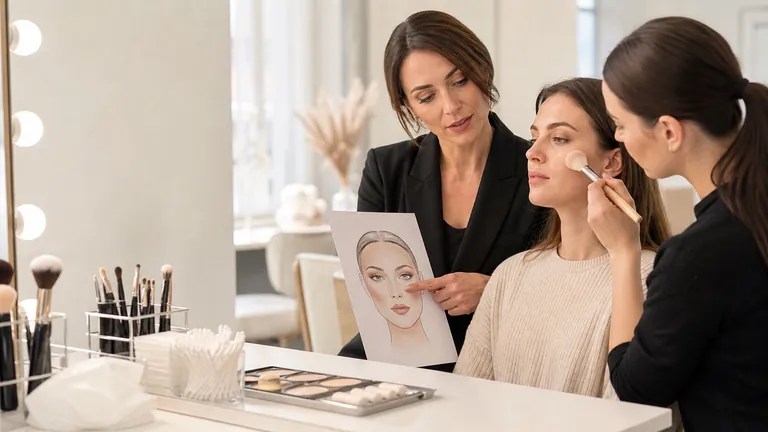
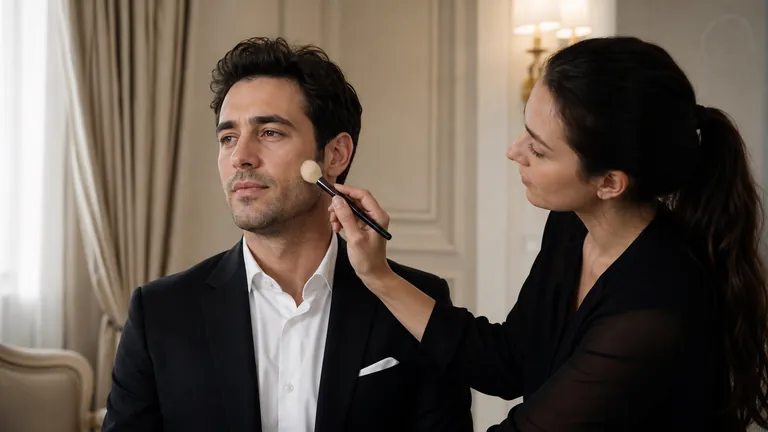
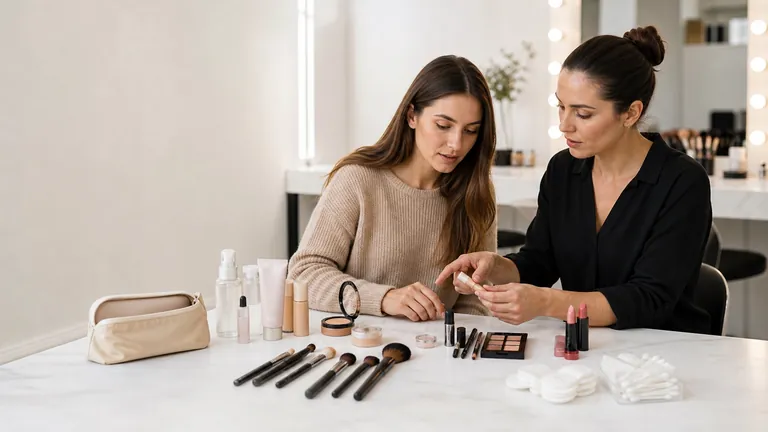
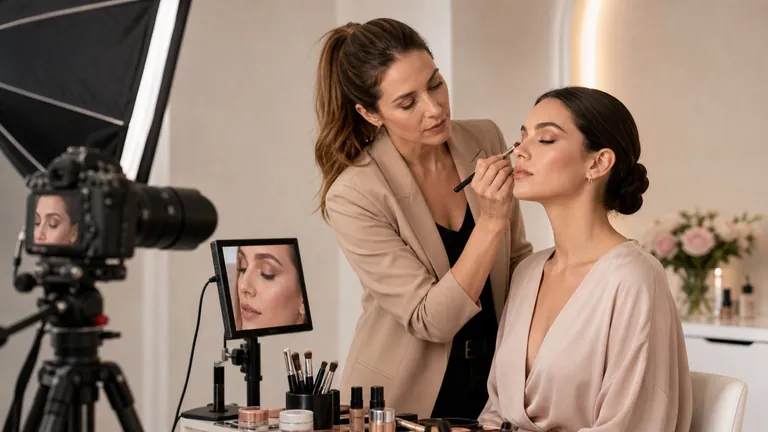
A beauty close-up, editorial portrait, flash event and moving video do not ask the same questions. Close beauty work exposes surface, edges and symmetry. Editorial images connect makeup to concept, lighting and styling. Direct flash tests reflected brightness and colour continuity. Video adds movement, angle, continuity and change over time. Ask about final framing, lighting, output, movement and retouching before choosing opacity or finish.
High definition does not require maximum coverage or the removal of visible skin. Extra film can create borders, creases and separation; excessive contrast can lose detail in the darkest areas; flattening all colour variation may look artificial. Use the least product that meets the agreed brief, then validate it through the actual capture system.
Capture context | Makeup priority | Essential check |
|---|---|---|
Beauty close-up | Surface, boundaries, symmetry and finish | Final crop plus useful detail on monitor |
Editorial portrait | Coherence with light, styling and concept | Lighting test in the actual framing |
Direct-flash event | Colour, reflection and wear | Actual flash at a typical distance |
HD video | Continuity, movement and touch-up | Playback, expressions and several angles |
A camera does not perceive a face like a moving observer
Human vision continuously adapts attention, focus and brightness while moving around a face. A camera records according to viewpoint, lens, sensor, colour profile, exposure, white balance and lighting. Photography compresses three-dimensional form into a frame; video adds movement and codec processing. A live soft transition can lose its middle value, while side light and sharp capture can make a small product ridge more visible.
Ask what light and camera will be used, whether flash is involved, how close the framing becomes and whether a test is available. Do not compensate for incorrect white balance or exposure by layering colour onto the person. Show the discrepancy and collaborate with the team responsible for capture. A camera test is shared evidence, not a contest between makeup and photography.
Use four views: mirror, side light, flash and monitor
Four checks answer four different questions
Do not use one phone photograph as universal proof
Mirror: live balance and comfort
Side light: thickness and texture
Flash: reflection and colour
Monitor: delivered frame and movement
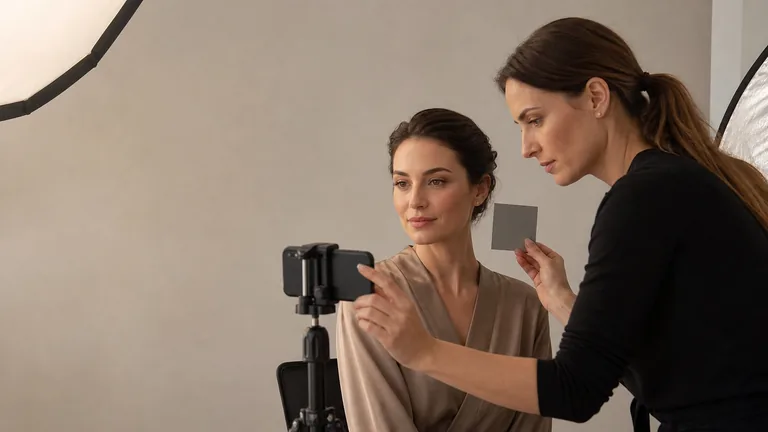
Start in neutral diffused light to read the person and complete makeup, then use the production light. Add the actual flash when flash is planned and inspect the recorded file on the available monitor. The mirror checks comfort and live balance; side light reveals thickness; flash reveals reflected brightness and colour difference; playback shows the delivered framing and movement.
Mirror and front light: overall balance, colour and comfort.
Side light: thickness, dryness, boundaries, facial hair and texture.
Actual flash: bright patches, saturation, contrast and reflected powder.
Monitor or playback: the image in its intended frame, not an isolated pore.
Do not judge colour from a phone display alone. Automatic brightness, vivid profiles and beauty filters can shift it. Use makeup colour theory to separate hue, value and saturation, then validate those relationships in the agreed capture workflow.
Flashback is an image result, not a single-ingredient diagnosis
Flashback belongs to the complete system
Formula, dose, skin, light and exposure interact
Formula
Pigments, fillers and films
Application
Amount and distribution
Surface
Moisture and underlying layers
Capture
Flash, angle, distance and exposure
Flashback describes an area that appears much lighter, greyer or more reflective in a flash photograph than it did live. It often appears under eyes, through the centre of the face or wherever a large powder deposit remains. It cannot be diagnosed from one INCI name. Pigments, fillers, filters, films, dose, distribution, moisture, flash angle, distance and exposure all contribute to the complete result.
A translucent powder may become visible when overloaded or pressed over a wet base. Sunscreen does not cause identical flashback in every formula, amount and camera, while the absence of SPF does not guarantee a clean image. Test the exact skincare, sunscreen, complexion, powder and lighting stack rather than using a prohibited-ingredient list.
Prepare a representative area using the intended complete sequence.
Apply minimal powder and photograph in ambient light and actual flash.
Change one variable—amount, product or position—and repeat without altering exposure.
Compare face to neck, centre to perimeter and final frame to useful detail.
Keep the images and protocol; one photograph does not create a universal rule.
High definition reveals product build-up as well as skin texture
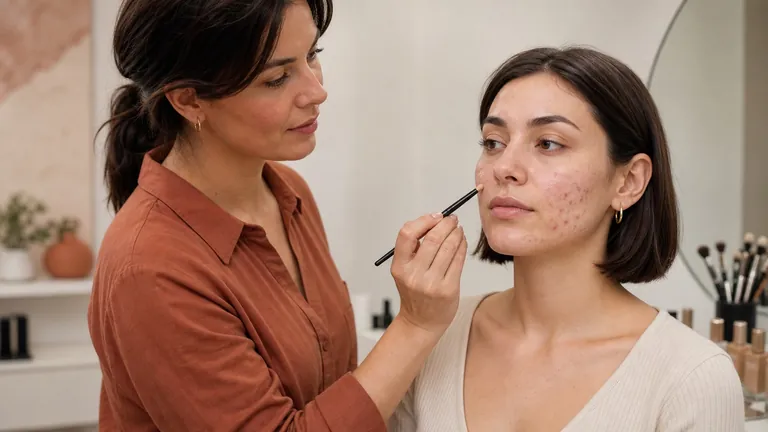
HD capture makes more detail available, but pores, lines, facial hair, scars and variation remain normal parts of skin. The task is not to erase them. Prevent product and tools from making their visibility artificially stronger: preparation should not pill, complexion should not form plates, edges should disappear and powder or highlighter should not collect on raised areas.
Review at final viewing scale before zooming in. A 200% crop can provoke corrections that make the delivered frame heavy. Ask whether the output is a social thumbnail, moving video, portrait, print or beauty close-up. Use the foundation texture and finish guide to choose formula without confusing coverage with technical quality.
Prepare skin for a readable camera-ready base
Cleanse and moisturise according to current need, not a fixed product count. Excess skincare can leave residue, pill or make complexion mobile; insufficient comfort can expose dry patches. Let products settle and blot only true excess. The skin-preparation guide owns order, timing and zone assessment.
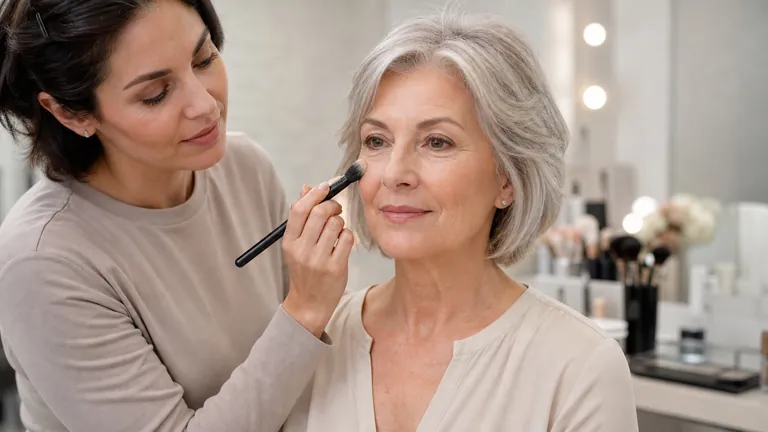
Do not aggressively exfoliate immediately before a shoot to pursue an unreal surface. Redness, sensitivity and scaling need restraint. Stop when irritation or an unexpected reaction makes application unsuitable. On mature texture preserve movement with fewer flexible layers and follow the separate mature-skin makeup guide.
Build complexion with thin localised layers
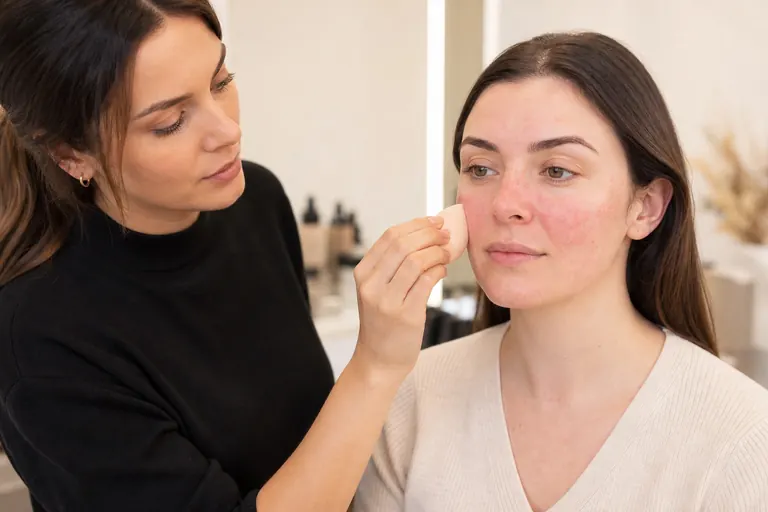
Apply foundation where broader continuity is needed and add coverage locally. The first veil should move with skin; concealer addresses remaining colour without repeating opacity everywhere. Fade boundaries into hairline, ears, jaw and neck and compare with every body area visible in the final framing. A technically smooth central face disconnected from neck or chest remains a camera error.
For colour, compare face, neck and visible body in the same light. Undertone is one variable among depth, saturation, surface colour, oxidation and illumination. Use the foundation shade-matching method before deciding that a product has shifted. Ask the capture team to verify white balance when every colour changes in the file.
Control under-eye correction and powder under flash
Concealer much lighter than foundation can become a bright mask under flash. Neutralise visible colour locally rather than drawing a thick uniform triangle; keep the shade connected to the planned face, thin the border and check with eyes open. Let the area move before powder, remove collected product from folds and set only what is required.
Do not bake by default. A large powder deposit may look dry in HD or reflect differently from surrounding base. When longer wear is needed, compare baking and minimal setting using the same flash. The useful technique improves both file and comfort rather than creating the most visible backstage gesture.
Keep powder, highlight, contour, bronzer and blush distinct
Press a small amount of powder only where movement or surface oil requires control. Check forehead centre, nose, under eye and mouth in both front and side light. If an area is already stable, another product layer only makes the gesture uniform—not the result. Review the dedicated long-wear makeup guide for setting and repair.
Pearl and highlighter change with angle. Poor placement can visually expand an area, emphasise texture or saturate until detail disappears. Test in the pose and light. The contour, bronzer and blush guide separates depth, warmth and colour; all three must remain readable in the recorded image.
Balance eyes, brows, cheeks and lips for the frame
The camera may reduce a delicate transition or sharpen a boundary. Build eyes gradually and judge their shape in the actual frame. Brows that become too opaque can dominate the face; dense false lashes may cover shadow and create new darkness. Check open eyes, expression and profile rather than assessing one isolated close-up.
Blush and lip saturation change with light and colour profile. Do not compensate before seeing a test. Keep lip boundaries thin and compare colour with teeth, skin and styling. Use products intended for eyes or lips, clean tools and disposable applicators where appropriate. The makeup hygiene guide remains the workflow reference.
Photography, video and smartphones need different tests
A still freezes one moment and supports detail inspection; video reveals transition, expression, perspiration, continuity and light change. Review moving playback rather than a selected frame and prepare a compact continuity kit. Smartphone cameras often apply sharpening, dynamic range, face detection and colour processing automatically. Disable beauty filters where possible and keep an unfiltered reference.
When the smartphone and app are the final output, test them too. Do not treat one device as universal proof. A result that only exists after automatic smoothing or colour alteration does not document the makeup accurately and should not be used to diagnose a product or technique failure.
Move from brief to camera test in a repeatable sequence
Test before production starts
A repeatable sequence protects colour, texture and continuity
Define output and capture conditions
Build the thinnest useful layers
Capture and compare the real test
Approve and record continuity
Define output, framing, light, flash, movement, schedule and touch-up access.
Observe surface, depth, colour and texture without preselecting one fixed recipe.
Prepare with the fewest useful compatible films and allow them to settle.
Build complexion and correction locally with invisible boundaries.
Place dimension and feature colour in relation to light, styling and frame.
Set by zone and check reflection under front and side light.
Capture an actual test, inspect final frame and detail and name the specific failure.
Change one makeup or capture variable, repeat and document the approved result.
Practise complete looks through the complete makeup artist course or apply trial and continuity planning in the bridal makeup course.
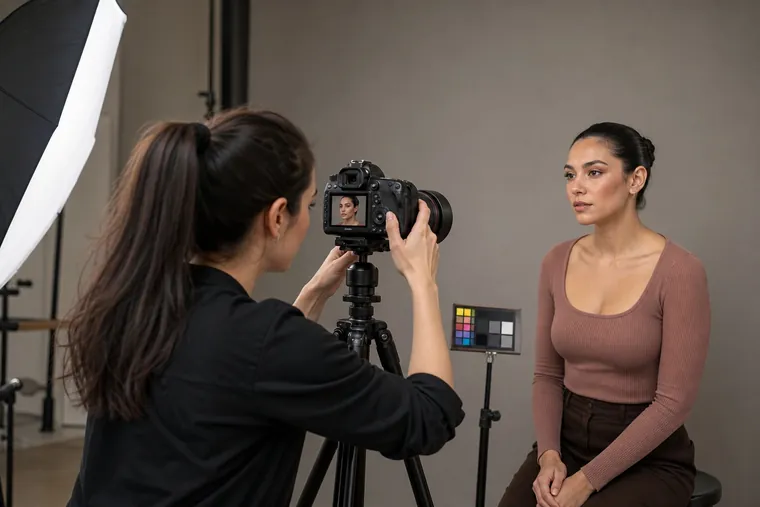
Diagnose camera-result problems before correcting the face
Recorded problem | Check | Controlled response |
|---|---|---|
Bright under-eye patch | Concealer depth, powder amount, moisture and flash | Reduce the local film and repeat the same exposure |
Heavy HD texture | Layer count, friction, side light and viewing scale | Remove local build-up and inspect the final crop |
Face looks flat | Lighting direction, exposure and feature hierarchy | Correct capture first, then add restrained dimension |
Patches or separation | Residue, incompatibility, friction and excess film | Remove locally and rebuild a thin layer |
Colour shift | Light, white balance, display, oxidation and saturation | Verify a neutral reference and pipeline before altering makeup |
Do not cover a symptom with unrelated product. Adding bronzer across the face cannot resolve local flashback, and stronger contour cannot repair flat lighting without affecting the live result. Identify the variable that produced the discrepancy and change only that variable.
Document the approved camera test and maintain continuity
Record the approved face in readable light and note products, amounts and zones. During production, blot moisture before powder and repair separation locally. Review neck, hands and exposed body after wardrobe or lighting changes. For video, make sure a touch-up does not create an abrupt colour or finish shift between consecutive takes.
Agree who can touch the makeup and with which tools. Keep clean tools separated from used tools and never reuse disposable applicators. The continuity kit should contain only what the look requires, arranged and identifiable. Production speed does not remove hygiene obligations.
Common photographic-makeup mistakes
Increasing coverage, contour and powder automatically because a camera supposedly erases makeup.
Testing the base in different light from production or omitting flash when flash will be used.
Blaming one ingredient for flashback without comparing formula, amount and capture.
Judging only at extreme zoom and losing balance in the final frame.
Correcting exposure, white balance or display problems on the face without discussing capture.
Using beauty filters as evidence of technical quality or colour fidelity.
Adding full-face layers during touch-up before blotting and diagnosing the zone.
Frequently asked questions about photographic makeup
How is photographic makeup different from everyday makeup?
It is designed and verified for a specific light, camera, frame and output. It need not be heavier; it requires controlled layers, camera tests and collaboration.
What is makeup flashback?
It is an area that appears much lighter, greyer or more reflective under flash than live. Formula, amount, underlying films, light, angle and exposure can contribute.
Does sunscreen always cause flashback?
No. SPF alone does not predict every image, and no SPF does not guarantee perfect flash photography. Test the complete stack with the actual flash.
Is translucent powder always invisible in photographs?
No. It can show at excessive dose, on a wet film, on some skin depths or in some lighting. Apply minimally and test before approving the look.
Does high definition require more foundation?
Usually it requires more control, not more thickness. Build a thin veil and add coverage locally because heavy layers can expose edges, folds and separation.
How can a face avoid looking flat on camera?
Check lighting and exposure first, then separate depth, warmth and colour with restrained placement. Never increase contour before seeing the final framing.
How should foundation be selected for a photo shoot?
Assess skin, finish, coverage, comfort, oxidation and preparation compatibility. Test face, neck and visible body in the planned light and camera.
Is baking required for camera-ready makeup?
No. It may support a tested formula and still increase dryness, build-up or bright powder elsewhere. Compare with minimal setting under the same flash.
How should makeup be checked before shooting starts?
Review in front and side light, capture the real camera and flash test, inspect both final frame and detail on a monitor and change one variable.
Is video makeup the same as still-photo makeup?
They share foundations, but video adds movement, expression, angle, continuity and changing light. Check playback and keep touch-ups consistent between takes.
Can a smartphone be used for a camera test?
Yes when it is the final capture device. Disable beauty filters where possible, understand automatic processing and keep an unfiltered reference.
How can makeup be touched up on set without becoming heavy?
Blot moisture or oil first, identify the cause and repair locally with minimal compatible product. Recheck the recorded image before adding more.
How can face, neck and body colour remain continuous?
Compare every visible zone in the same light, fade product edges and include depth, saturation and wardrobe. When the camera shifts all colour, review white balance.
When should a camera-ready makeup application stop?
Stop for irritation, burning, swelling, eye discomfort or another unexpected response. Do not work over inflamed or broken skin and seek healthcare assessment when appropriate.
Sources, limits and next steps
For camera perspective, review the open-access study on focal length and depicted facial shape. For cosmetic and eye-area boundaries, use the European Commission CosIng database scope and FDA eye cosmetic safety guidance. These sources do not define universal camera settings or guarantee a formula’s result.
Continue through the English makeup guide library or the current online makeup courses. Editorial review: 5 September 2026. This guide deliberately owns makeup performance under still and moving capture; portfolio selection, photographic technique, long-wear setting and formula selection retain their separate intents.
Preserve deep skin detail on camera
Keep colour and detail credible without compensating for exposure errors through makeup for deep skin tones.
Separate camera-ready application from capture technique
After adapting the makeup for camera, use the controlled makeup photography workflow.
Correct lens glare before adding pigment
Use the lighting checks in the makeup-with-glasses photography method.
Adapt camera technique to men and grooms
Apply the general camera method through the men’s and groom makeup protocol.
Check separation and transfer on camera
Use the professional mascara checklist.
Check shine and film change under hot lights
Add the climate wear-test method.
Check sunscreen cast and flash separately
Apply the sunscreen-and-makeup camera test.
Inspect cut crease with eyes open and closed
Add the cut crease camera and symmetry checks.
Check under-eye correction under neutral exposure
Use the colour-corrector camera check.
Check iris and shadow under calibrated camera light
Use the eye-colour camera test.