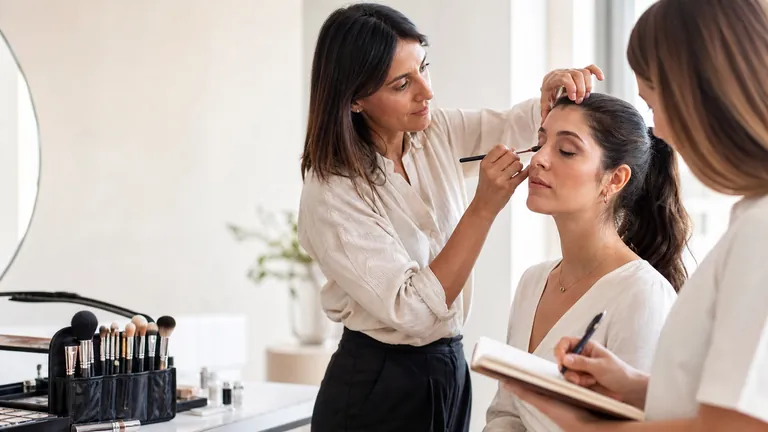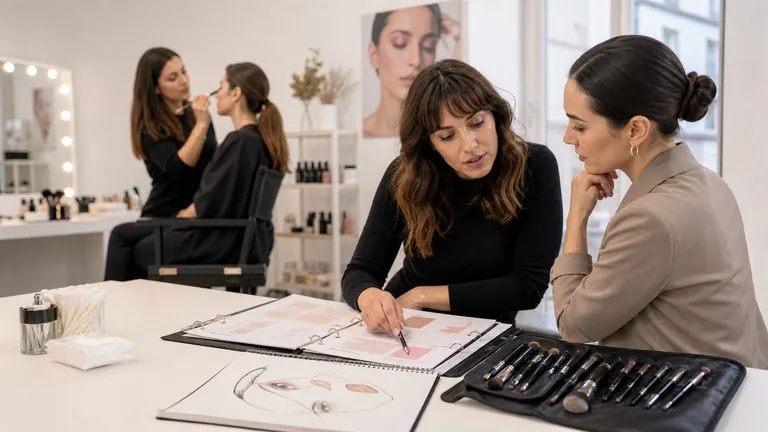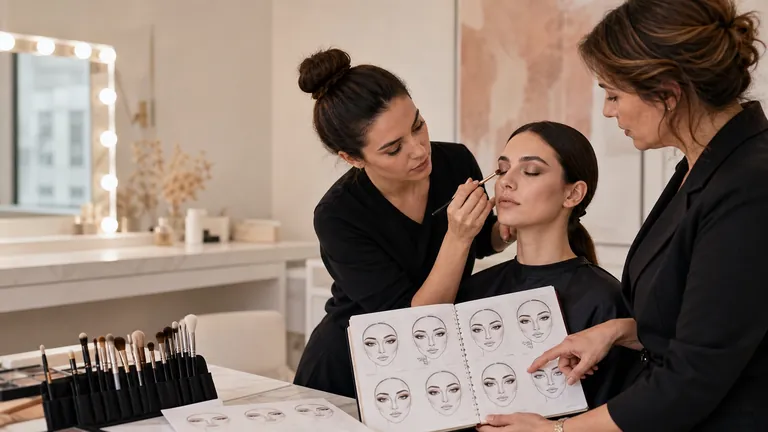
Learning makeup from scratch becomes easier when a finished look stops being one mysterious task and becomes a set of trainable skills. Organising a clean workstation, controlling pressure, choosing an amount, matching complexion, softening an edge, placing colour and checking symmetry are different decisions. Practise them in a useful order and you can identify the weak variable; combine them all too early and one error hides another.
Quick answer: begin with hygiene, tools, pressure and product quantity. Move to simple skin preparation and a thin complexion base, then add local correction, brows, one eyeshadow, mascara and lips. Combine those skills in a daytime look before increasing contrast for evening or corrective work. Use one short exercise, neutral light and one observable success criterion for each skill. Progress when you can repeat and adapt it, not when it works once.
This guide owns the practical beginner intent in the BeautyLearn makeup library. It does not duplicate the career, regulation, portfolio and first-client route explained in how to become a makeup artist. For structured teaching, compare the current online makeup courses, begin with the beginner makeup course or review the wider complete makeup artist course. Availability, instructors and content belong specifically to the English market.
The exercises are educational and cosmetic. Do not practise on inflamed, injured or uncomfortable skin or around an irritated eye. Read every product label and use cosmetics only for their intended area. When practising on another adult, explain that you are learning, obtain consent, maintain hygiene and stop if the person experiences significant discomfort.
Why a complete tutorial is a poor first lesson
A complete tutorial asks a beginner to decide on preparation, texture, shade, amount, tool, pressure, order, shape, symmetry and timing at once. If the finished base looks heavy and the eye looks patchy, the learner cannot tell whether the cause was excess product, an unsuitable surface, pressure, brush loading or placement. The visible result contains too many uncontrolled variables to provide useful feedback.
Focused practice does not mean drawing on paper for months without completing a face. Use a loop: isolate one movement, apply it to a real cosmetic task, photograph it consistently, identify one correction and return it to a simple full look. This alternation protects motivation while keeping the learning evidence readable.
Video speed can also distort expectations. Editing removes product preparation, corrections, cleaning and decisions. Pause a demonstration before the result, predict the next choice and explain why; then compare your reasoning with the educator. Recognition feels fluent, but predicting and performing expose what you can actually retrieve.
The best order for learning makeup from scratch
Complexity in five controlled stages
Each stage protects the decisions learned before it
Hygiene, workstation and tools
Preparation, amount and base
Correction, powder and dimension
Brows, eyes and lips
Complete looks and adaptation
There is no single compulsory syllabus, but the following progression manages complexity. Each stage relies on decisions developed before it and introduces one new family of problems. When you change model, formula or lighting, return to the relevant stage rather than treating every variation as a new advanced technique.
Stage | Main skill | Proof of control |
|---|---|---|
1 | Workstation, hygiene and tools | Clean, active and used items never cross |
2 | Visible skin observation, amount and base | Even transition without avoidable build-up |
3 | Local correction, powder and dimension | Targeted change with soft edges and readable texture |
4 | Brows, eyes and lips | Balanced direction at normal viewing distance |
5 | Complete looks and adaptation | Repeatable sequence across people and lighting |
Stage 1: hygiene, workstation and tool control
Before colour, learn a one-way workstation. Keep reserve products closed, decant cream and liquid products onto a clean palette, place only current tools in the active area, use new single-use applicators where appropriate and contain used items away from clean stock. Never return an applicator that touched a person to a shared mascara or lip product. Wash hands at the relevant points and follow a documented cleaning method for reusable tools.
A small functional kit is better for learning than a crowded table. The professional makeup tools course explains core tool functions; the professional makeup products course connects texture and finish with use. Neither requires buying every item at once: add a tool only when it solves a named task your current kit cannot perform cleanly.
Exercise 1: rebuild the workstation from memory
Lay out a reserve zone, active palette, clean brushes, single-use applicators and used-item container. Walk through a simple application without a model and point to where every item goes after contact. Pack everything, wait ten minutes and rebuild it without a photograph. Success means the flow remains clear and used tools never travel back towards clean stock.
Exercise 2: map pressure and product amount
Place three measured amounts of the same safe practice product on a clean palette. Use the same brush to make strokes with light, medium and heavy pressure on an appropriate practice surface, cleaning it between comparisons. Observe when the bristles open, when the product deposits and when pressure merely moves an existing layer. Success means you can reproduce the lightest useful pressure and explain why more force did not create a smoother result.
Stage 2: skin preparation and a thin complexion base
Observe what is visible without diagnosing: current product residue, surface shine, dry-looking areas, texture and comfort reported by the person. Preparation should solve an observable cosmetic need and remain compatible with the base. Layering a toner, essence, several serums, oil, moisturiser and primer by default creates more interfaces that can pill or move. Start with less, allow each necessary product to settle and test the chosen combination.
For foundation, match in the area that must look continuous with the face and neck and check under useful light. Undertone, depth, oxidation, coverage and finish are different decisions. Apply a small amount from areas needing the most evening and fade towards the edges. Add local coverage only after the first layer is assessed. A thin base is not defined by one pump; it is a controlled film with no avoidable border or accumulation.
Exercise 3: compare a measured half-face base
Record the product, tool and amount used on one half of the face. Check the hairline, nose, mouth, jaw and neck close up, at one metre and in a neutral photograph. Apply the other half with a smaller amount or different technique while keeping the product constant. Success means you can identify which method created the more even transition and where extra coverage was actually required.
Exercise 4: build coverage in two passes
Apply one light layer over the intended area and wait long enough to see its finish. Mark two small zones that need more coverage and add product only there, pressing rather than repeatedly sweeping. Compare texture with a one-pass heavier application on a later session. Success means the second pass remains local and its edge cannot be found from normal distance.
Stage 3: correction, powder and dimension without patches
Correction is a local decision, not a requirement to neutralise every variation in the face. Identify whether the goal is colour, shadow, coverage or texture and use the minimum relevant product. A corrector that neutralises colour may still require a skin-toned layer; concealer that is too light can emphasise an under-eye shadow. Set only where the formula, movement and desired finish require it.
Dimension products also depend on colour, finish and placement. Bronzer, contour and blush are not three mandatory stripes. Learn one at a time, beginning with a restrained amount and evaluating the face at conversation distance. For structured teaching, the corrective makeup course connects colour and placement without treating facial differences as faults.
Exercise 5: correct one small area
Choose one visible colour variation and leave the rest of the complexion unchanged. Photograph before and after in the same light and assess three criteria: colour looks more even, the edge disappears and texture is not more obvious. If one fails, change only amount, shade, tool or setting method on the next attempt. Success is a targeted improvement that does not announce where the product begins.
Exercise 6: map powder by movement
On a fully settled base, apply a small amount of powder only to one crease-prone or shine-prone area. Leave a comparable zone unpowdered and photograph immediately and later under the same conditions. Observe movement, reflectivity and texture rather than labelling one finish universally better. Success means powder was used for a reason and did not create a dry border.
Stage 4: brows, eyes and lips in a controlled progression
Deposit and blend are different jobs
Keep the intensity; soften only its boundary
Deposit
Small amount in the planned zone
Unload
Remove excess or change brush
Soften
Move only the outer boundary
Check
Open eye, side view and photo
Do not learn every detail area in the same session. Begin by following natural brow density and direction with small additions. For eyes, start with one matte shadow and a clear placement goal; then combine light and depth before adding sharper liner or complex structures. Apply mascara with a clean, intended applicator. For lips, practise surface preparation, a thin controlled outline and even fill before attempting optical reshaping.
Exercise 7: one-shadow placement
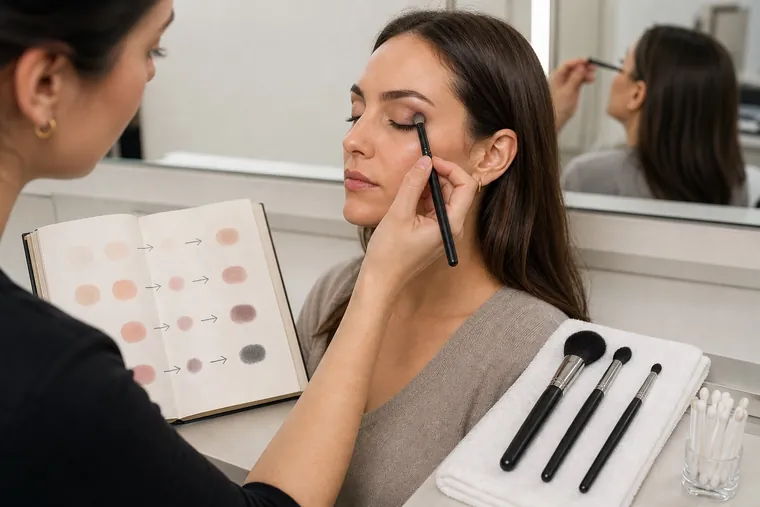
Choose one eye-safe matte shade and one placement zone. Deposit a small amount where intensity belongs, then use a clean or unloaded brush only at the outer edge. Check with the eye open, closed and from the side. Success means the intended centre remains visible while the boundary softens gradually; adding more colour should not be the automatic response to a rough edge.
Exercise 8: a two-colour transition
Add a lighter transition shade to the previous exercise. Keep tools or brush surfaces separate enough to know which colour is moving. Work at the meeting edge rather than sweeping over the whole shape. Success means the two roles remain readable—depth and transition—without a hard seam or one muddy area.
Exercise 9: compare liner direction at eye-open view
Before using a liquid formula, sketch two possible directions with a removable, eye-safe product and assess them while the model looks forward naturally. Consider visible lid space, outer corner direction and the agreed effect instead of imposing one template. Success means the line supports the chosen effect when the eye is open, not only in a stretched closed-eye photograph.
Exercise 10: lip edge in short sections
Prepare the lips and map the centre and corners before joining them with short strokes. Fill the colour up to the outline and check at speaking distance. Blot only if it belongs to the formula and finish. Success means the edge remains clean through normal lip movement and any balance adjustment is subtle rather than a rigid new shape.
Stage 5: combine the skills in daytime and evening looks
Your first complete look should be deliberately simple: necessary preparation, thin base, local correction, controlled powder, groomed brows, one or two eye shades, mascara, restrained cheek colour and a clean lip. Complete the sequence without abandoning hygiene or losing track of time. The daytime makeup course provides a useful integration point.
Once that process is stable, turn the same plan into an evening look by changing selected variables: greater contrast, more depth, a stronger lip or a more durable finish. Do not replace every product at once, because you will not know what changed wear or texture. The evening makeup course is most useful after base, edge control and simple eye placement are repeatable.
Exercise 11: a timed beginner daytime look
Write the sequence before starting and assign generous time blocks. Record actual time for setup, each face area, corrections, photography and cleanup. Do not rush to meet an arbitrary professional target. Success means the look remains coherent, the workstation remains controlled and you can identify the one stage that consumed unexpected time.
Exercise 12: adapt one look to a second adult
Repeat the same broad brief on a different consenting adult without copying placements. Reassess depth, undertone, texture, eye space, lip shape and contrast. Keep the success criteria but adapt the execution. Success means the two results solve the same brief while looking appropriate to each person. This is the point at which a memorised sequence begins to become transferable skill.
Twelve beginner exercises at a glance
Exercise | Variable isolated | Success criterion |
|---|---|---|
1. Workstation rebuild | Workflow | No clean-used crossover |
2. Pressure map | Hand control | Light useful pressure repeats |
3. Half-face base | Amount and method | Even jaw and hairline transition |
4. Two-pass coverage | Layering | Local coverage, invisible edge |
5. One-area correction | Colour and precision | Tone improves without extra texture |
6. Powder map | Selective setting | Movement controlled, no dry border |
7. One shadow | Deposit and edge | Intensity remains, boundary softens |
8. Two shadows | Transition | Two roles with no hard seam |
9. Liner direction | Design | Effect works with eye open |
10. Lip sections | Line control | Clean edge during movement |
11. Timed daytime look | Integration | Coherent result and known bottleneck |
12. Second-person adaptation | Transfer | Same brief, person-specific execution |
A six-week makeup practice plan for beginners
Six weeks organise practice; they do not prove mastery
Use one technique, one application and one review each week
Week 1
Workflow, pressure and amount
Week 2
Preparation and thin base
Week 3
Correction and selective setting
Week 4
Brows and one-shadow eye
Week 5
Transition, liner plan and lips
Week 6
Two adapted daytime looks
Use three short sessions each week: one isolated technique, one application and one review or repeat. Short, focused sessions are easier to compare than occasional marathons. Keep product and light consistent when testing technique; change them deliberately when adaptation is the goal. The calendar organises repetition but does not certify ability.
Week | Focus | End-of-week check |
|---|---|---|
1 | Workstation, hygiene, pressure and amount | Rebuild a clean workflow without prompts |
2 | Preparation, shade check and thin base | Repeat a continuous face-neck transition |
3 | Local correction, powder and one cheek product | Explain why each product was added |
4 | Brows and one-shadow eye | Repeat direction and soft edge |
5 | Two-shadow transition, liner plan and lips | Identify one weak variable in photographs |
6 | Daytime looks on two consenting adults | Same brief adapted without losing process |
How to review a practice photograph
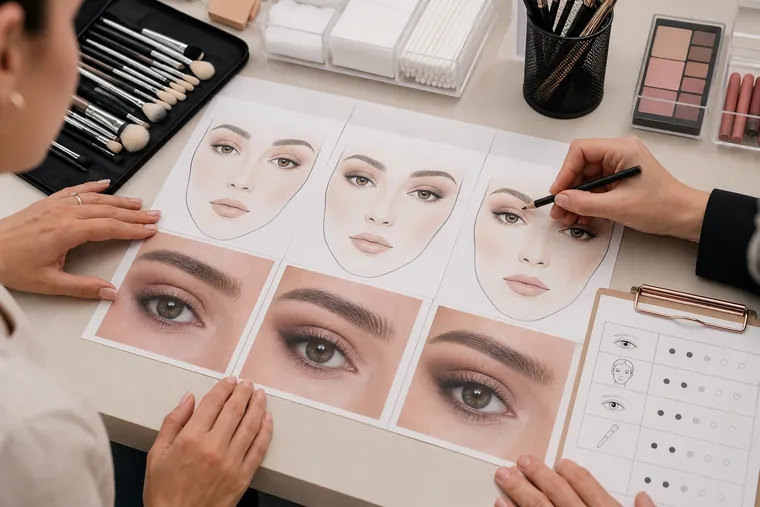
Use the photograph as measurement, not punishment. Keep camera, distance, lens, light and white balance as consistent as possible. Review the image after the session, when you are less tempted to change several things at once. Compare it with the brief and your one success criterion, not with a filtered campaign image created by a full production team.
Read the whole face first: does the contrast and balance match the intended result?
Check complexion transitions at hairline, nose, mouth, jaw and neck.
Check eye placement with both eyes open before judging closed-eye detail.
Check whether the lip and brow edges remain appropriate at normal distance.
Name one variable to change and keep everything else as stable as practical.
How to know when to progress to the next technique
Four proofs before adding complexity
A good result once is possibility, not stable skill
Explain
Name the goal and the decision
Repeat
Comparable control across sessions
Correct
Change one plausible cause
Adapt
Apply the principle to another adult
One successful attempt is evidence that the result is possible, not that the skill is stable. A technique is ready to combine when you can explain its purpose, repeat the process across several sessions, notice the dominant problem, make a relevant correction and adapt it to another person or formula. You may still need prompts; what matters is that the prompts support reasoning rather than copy a shape blindly.
Explain: you can state the visual or functional goal and the reason for product and placement.
Repeat: three separate sessions produce comparable control rather than one lucky photograph.
Correct: you can identify the likely weak variable and change it without rebuilding everything.
Adapt: the same principle works on a different consenting adult with different visible features.
Integrate: hygiene, comfort and timing remain controlled when the technique enters a full look.
Common beginner mistakes and the variable to test
Visible problem | Test first | Avoid |
|---|---|---|
Base looks heavy | Preparation, amount and application zone | Adding more powder immediately |
Foundation changes at the jaw | Shade, oxidation and checking light | Dragging excess product far down the neck |
Eyeshadow is patchy | Brush load, pressure and surface | Sweeping more pigment over the whole area |
Two sides feel unrelated | Open-eye landmarks and direction | Chasing millimetre-perfect closed-eye geometry |
Makeup pills or rolls | Number of layers, amount, friction and compatibility | Adding another primer without a controlled test |
Frequently asked questions
What makeup technique should a complete beginner learn first?
Learn hygiene, workstation flow, tool handling and product amount before attempting a complex look. The first face technique should usually be simple preparation and a thin, well-matched base because every later correction and detail depends on that surface.
Can I learn makeup only by watching tutorials?
Tutorials can explain and demonstrate, but viewing is not performance. Pause, predict, practise, photograph, obtain specific feedback and repeat. Professional readiness also requires work on varied consenting adults, complete-service hygiene and any local training or permission rules.
Should I learn eyes or complexion first?
Beginner learning is usually clearer when complexion comes first because it teaches observation, amount, edges and texture. You can practise one-shadow placement in parallel for motivation, but avoid building complex eye structures while basic pressure and blending remain unpredictable.
How often should I practise makeup?
Use a frequency you can repeat without irritating skin or losing attention. Three short sessions with one goal can teach more than one exhausting full-look session. Leave appropriate recovery time and never keep applying and removing products from uncomfortable skin simply to satisfy a schedule.
How long should each practice session be?
Match time to the objective. A brush-pressure or lip-edge exercise may need 15–30 minutes; a controlled half-face base may take longer; a complete look includes setup and cleanup. Stop when fatigue makes the movement careless and record where you stopped.
Do I need to practise on other people?
Yes, if your goal is to work on clients. Your own face teaches product handling but not adaptation, consultation, positioning or hygiene between people. Progress from training aids and self-practice to varied consenting adults with clear learner disclosure and suitable supervision.
How many products does a beginner need?
There is no useful universal count. Choose enough hygienic, compatible products to practise the current task and serve the planned range of models. Prioritise adaptable shade logic, tools, disposable supplies and removal rather than collecting multiple versions of the same function.
Should I buy professional products immediately?
Buy products that are lawful, suitable for the intended area, clearly labelled and functional for the exercise. ‘Professional’ is not a universal guarantee of quality or suitability. Learn with a controlled kit, then expand when the service and model range reveal a documented gap.
Can I practise makeup every day?
Only if skin and eyes remain comfortable and the products and removal are used appropriately. Repeated cleansing, adhesive, friction or active skincare may become irritating. Rotate paper planning, face-chart work, brush control, kit workflow and photo review with applications rather than stressing the same area daily.
Why does my makeup look different in photographs?
Lens, distance, exposure, white balance, flash, light direction and screen all change appearance. Photograph in consistent neutral conditions for learning, then test the lighting relevant to the intended look. Do not correct every camera artefact by adding more makeup to the face.
How do I make eyeshadow blend smoothly?
Control the surface, brush load, placement and pressure. Deposit colour where intensity belongs, unload or change the brush, then work only on the edge. Adding pigment while trying to soften the boundary often expands the patch rather than blending it.
How do I know whether my foundation shade is right?
Test a small amount where face and neck need to read continuously, allow it to settle and check in useful light. Depth, undertone and oxidation are separate. A match should integrate without requiring a heavy layer or an obvious correction across the whole neck.
When should I start learning corrective makeup?
Begin local colour correction after you can build a thin stable base and control amount. Add broader optical placement only when edges and dimension products are predictable. Corrective makeup is adaptation to a brief, not a list of facial flaws to erase.
Is a six-week plan enough to learn makeup?
It is enough to organise a first cycle, not to promise mastery. Previous experience, session quality, feedback, model variety and target complexity matter. Repeat stages until the evidence meets the criterion rather than advancing because the week number changed.
When am I ready for a complete makeup course?
A beginner course can be the starting point; you do not need to pre-learn everything. You are ready when you can commit the practice time, obtain any required models and materials, follow hygiene rules and use feedback. Compare the programme and assessment, not only the number of lessons.
When can I begin charging clients?
Not because one look succeeded or a calendar ended. Charge when the complete service is repeatable across relevant adults, hygiene and stop criteria are stable, the result and timing are honest, and local permissions, business terms and insurance are in place. The career guide explains those separate checks.
Official safety references and editorial scope
The US Food and Drug Administration’s current guidance on using cosmetics safely covers label directions, hand hygiene, sharing, storage and eye-area precautions. Its dedicated eye cosmetic safety guidance explains contamination and applicator risks. These US references illustrate safety principles; product rules and professional requirements must be checked in the market where the cosmetic and service are supplied.
Editorial review: 5 September 2026. This independent guide is authored from Irene Tomasi’s professional makeup perspective and contains no competitor links. It teaches a practice sequence, not healthcare advice, professional licensing or a guaranteed timetable. Stop and seek appropriate advice when a cosmetic reaction, eye symptom or skin concern exceeds ordinary cosmetic practice.
Before choosing a training format, use the makeup course cost guide to compare the advertised fee with compulsory kit, practice, feedback, access, travel and payment terms. Its planning scenarios are not market averages or price promises.
If format is now the deciding variable, compare online, live, hybrid and classroom makeup training by demonstration visibility, learner practice, feedback, models, schedule and repeat opportunities rather than assuming one mode is universally better.
To turn your chosen route into a realistic schedule, use the guide to how long professional makeup takes to learn. It separates understanding, guided execution, adaptation and professional reliability, using milestones rather than a guaranteed number of hours.
Before enrolling, apply the evidence checklist for choosing a makeup course. It compares outcomes, designed practice, feedback, educator evidence, certificate wording, access and conditions without treating price, duration or format as automatic proof of quality.
Before adding products, build a function-based beginner makeup kit. The checklist separates hygiene, complexion, colour, brushes and study tools, then adds each new function only when a planned exercise makes it necessary.
If the final document affects your decision, use the makeup certificate and qualification verification guide. It separates private completion records, assessed credentials, regulated qualifications, accreditation and local licences before you rely on a recognition claim.
For a controlled complexion match, use the foundation depth and undertone protocol. It separates depth, undertone and surface variation, then tests comparable jaw swatches in stable light after the formula settles.
Connect complexion colour to whole-face design with the corrective makeup and visagism method. It separates structure, proportion, colour and texture, then plans brows, blush, light and shadow around an agreed priority instead of a standard face map.
Practise controlled colour placement with the eyeshadow blending guide. It separates brush load, pressure, placement and edge work so patchiness can be diagnosed before more pigment is added.
Protect every practical exercise and client service with the makeup hygiene workflow. It separates clean and used zones, prevents double-dipping and gives brushes, sponges, products and surfaces a traceable route between people.
When your skills need to become clear evidence, use the makeup artist portfolio guide to select relevant projects, photograph them faithfully, state roles and manage consent, credits and image rights.
After matching colour, compare foundation texture, coverage and finish: this guide separates formula performance from undertone and tests thin layers, tools, setting, texture and wear.
Before selecting foundation and concealer, check how to prep skin before makeup: this guide orders cleansing, moisturiser, daytime sunscreen, targeted primer and settling without overloading the surface.
To adapt eyeshadow, liner and lash weight to visible anatomy, continue with the corrective eye makeup guide: it maps hooded, small, close-set and prominent eyes while keeping blending mechanics and whole-face visagism distinct.
For a focused method on lash-line thickness, wing direction and open-eye balance, use the eyeliner guide for different eye shapes. It keeps line mechanics distinct from full eye morphology and eyeshadow blending.
For a focused method on temporary eyebrow shape, reference points, colour and product choice, continue with eyebrow mapping: shape, colour and makeup products. It keeps brow makeup distinct from permanent services and hair-removal procedures.
For a focused process on lip proportion, liner, layering and wear, continue with the corrective lip makeup guide. It keeps temporary lip makeup distinct from permanent and medical procedures.
To combine complexion, brows, eyes, cheeks and lips into one efficient service, continue with the professional day-makeup guide. It connects product decisions to intensity, natural-light checks and realistic wear.